How Are Solar Roof Hooks Made?
Many of you interact with solar mounting roof hooks on a regular basis, perhaps you're an installer, an engineer, a designer, or maybe even a homeowner curious about the process. Of all the different roof hooks available on the market today for installers to choose from, the Tile Hook is one of the most common.
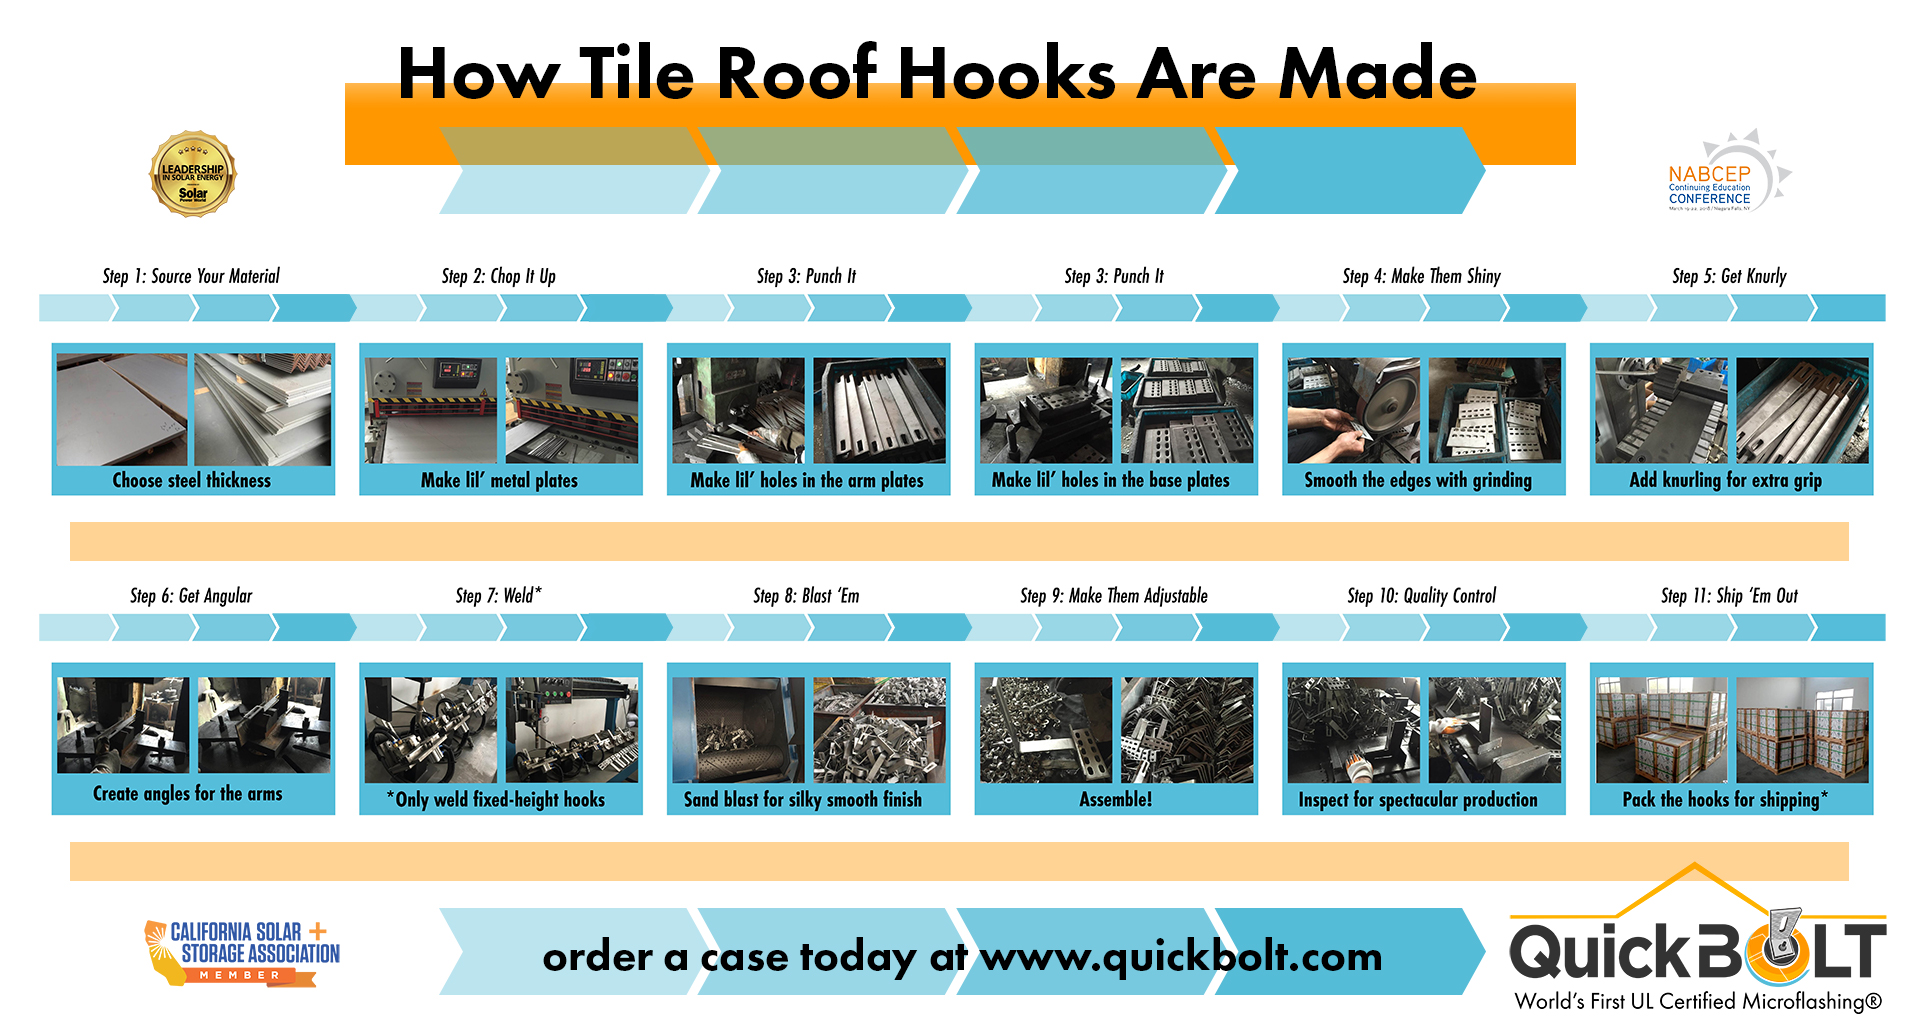
In this article, we'll take you through the ten-step process of producing a solar roof hook! You can view the full infographic above and read about each individual step below.
Step 1: Source Your Material
The first step in any production process is to source your material. For creating steel roof hooks that live up to our high standards we need to find kickass steel. Steel is sourced in a few different forms, plates being common. We can choose from a variety of plate thicknesses to cut into.
Once we've done that our manufacturers then know how thick we want our hooks to be. Why does this matter?
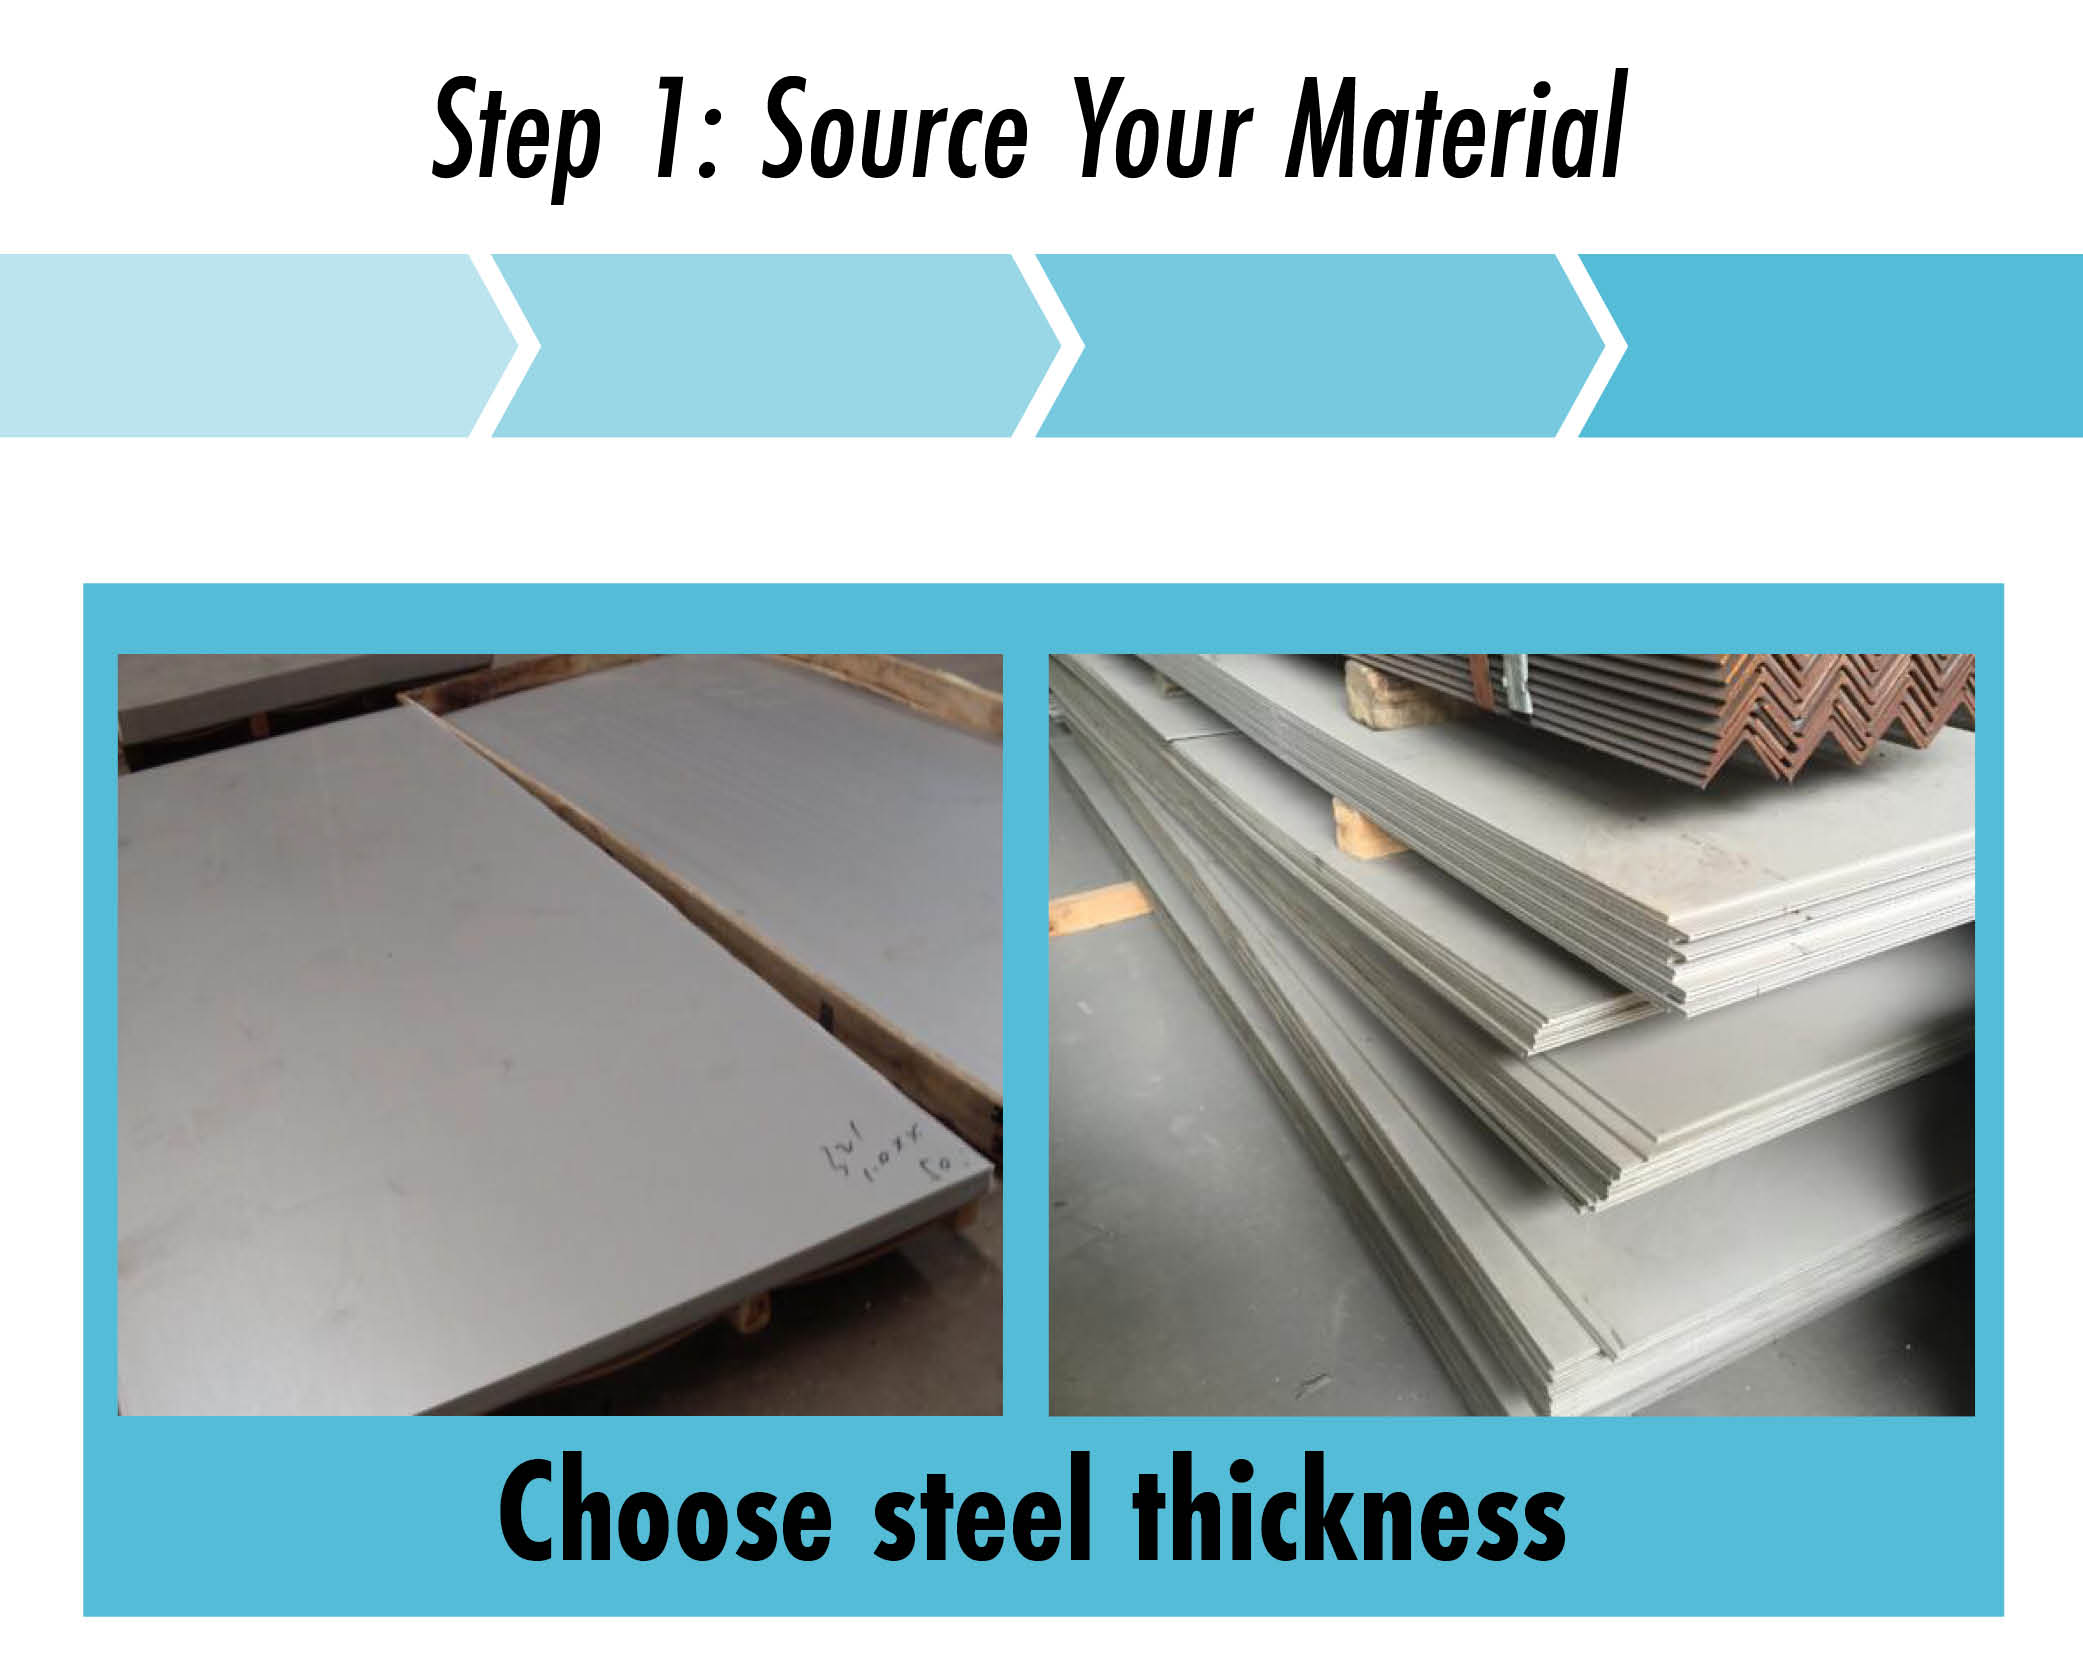
Nice thick steel will produce nice thick steel roof hooks. It's important to choose quality material for any product and thick steel makes for excellent hooks.
Those plates seen above will go into a machine to make them into multiple strips.
Step 2: Chop It Up
Once we've chosen our favorite plate and desired thickness, the steel is sent to machines for cutting into arm plates and base plates. We won't get into the technical data but the machine pictured below cuts into steel like butter! Manufacturing can be pretty awesome.
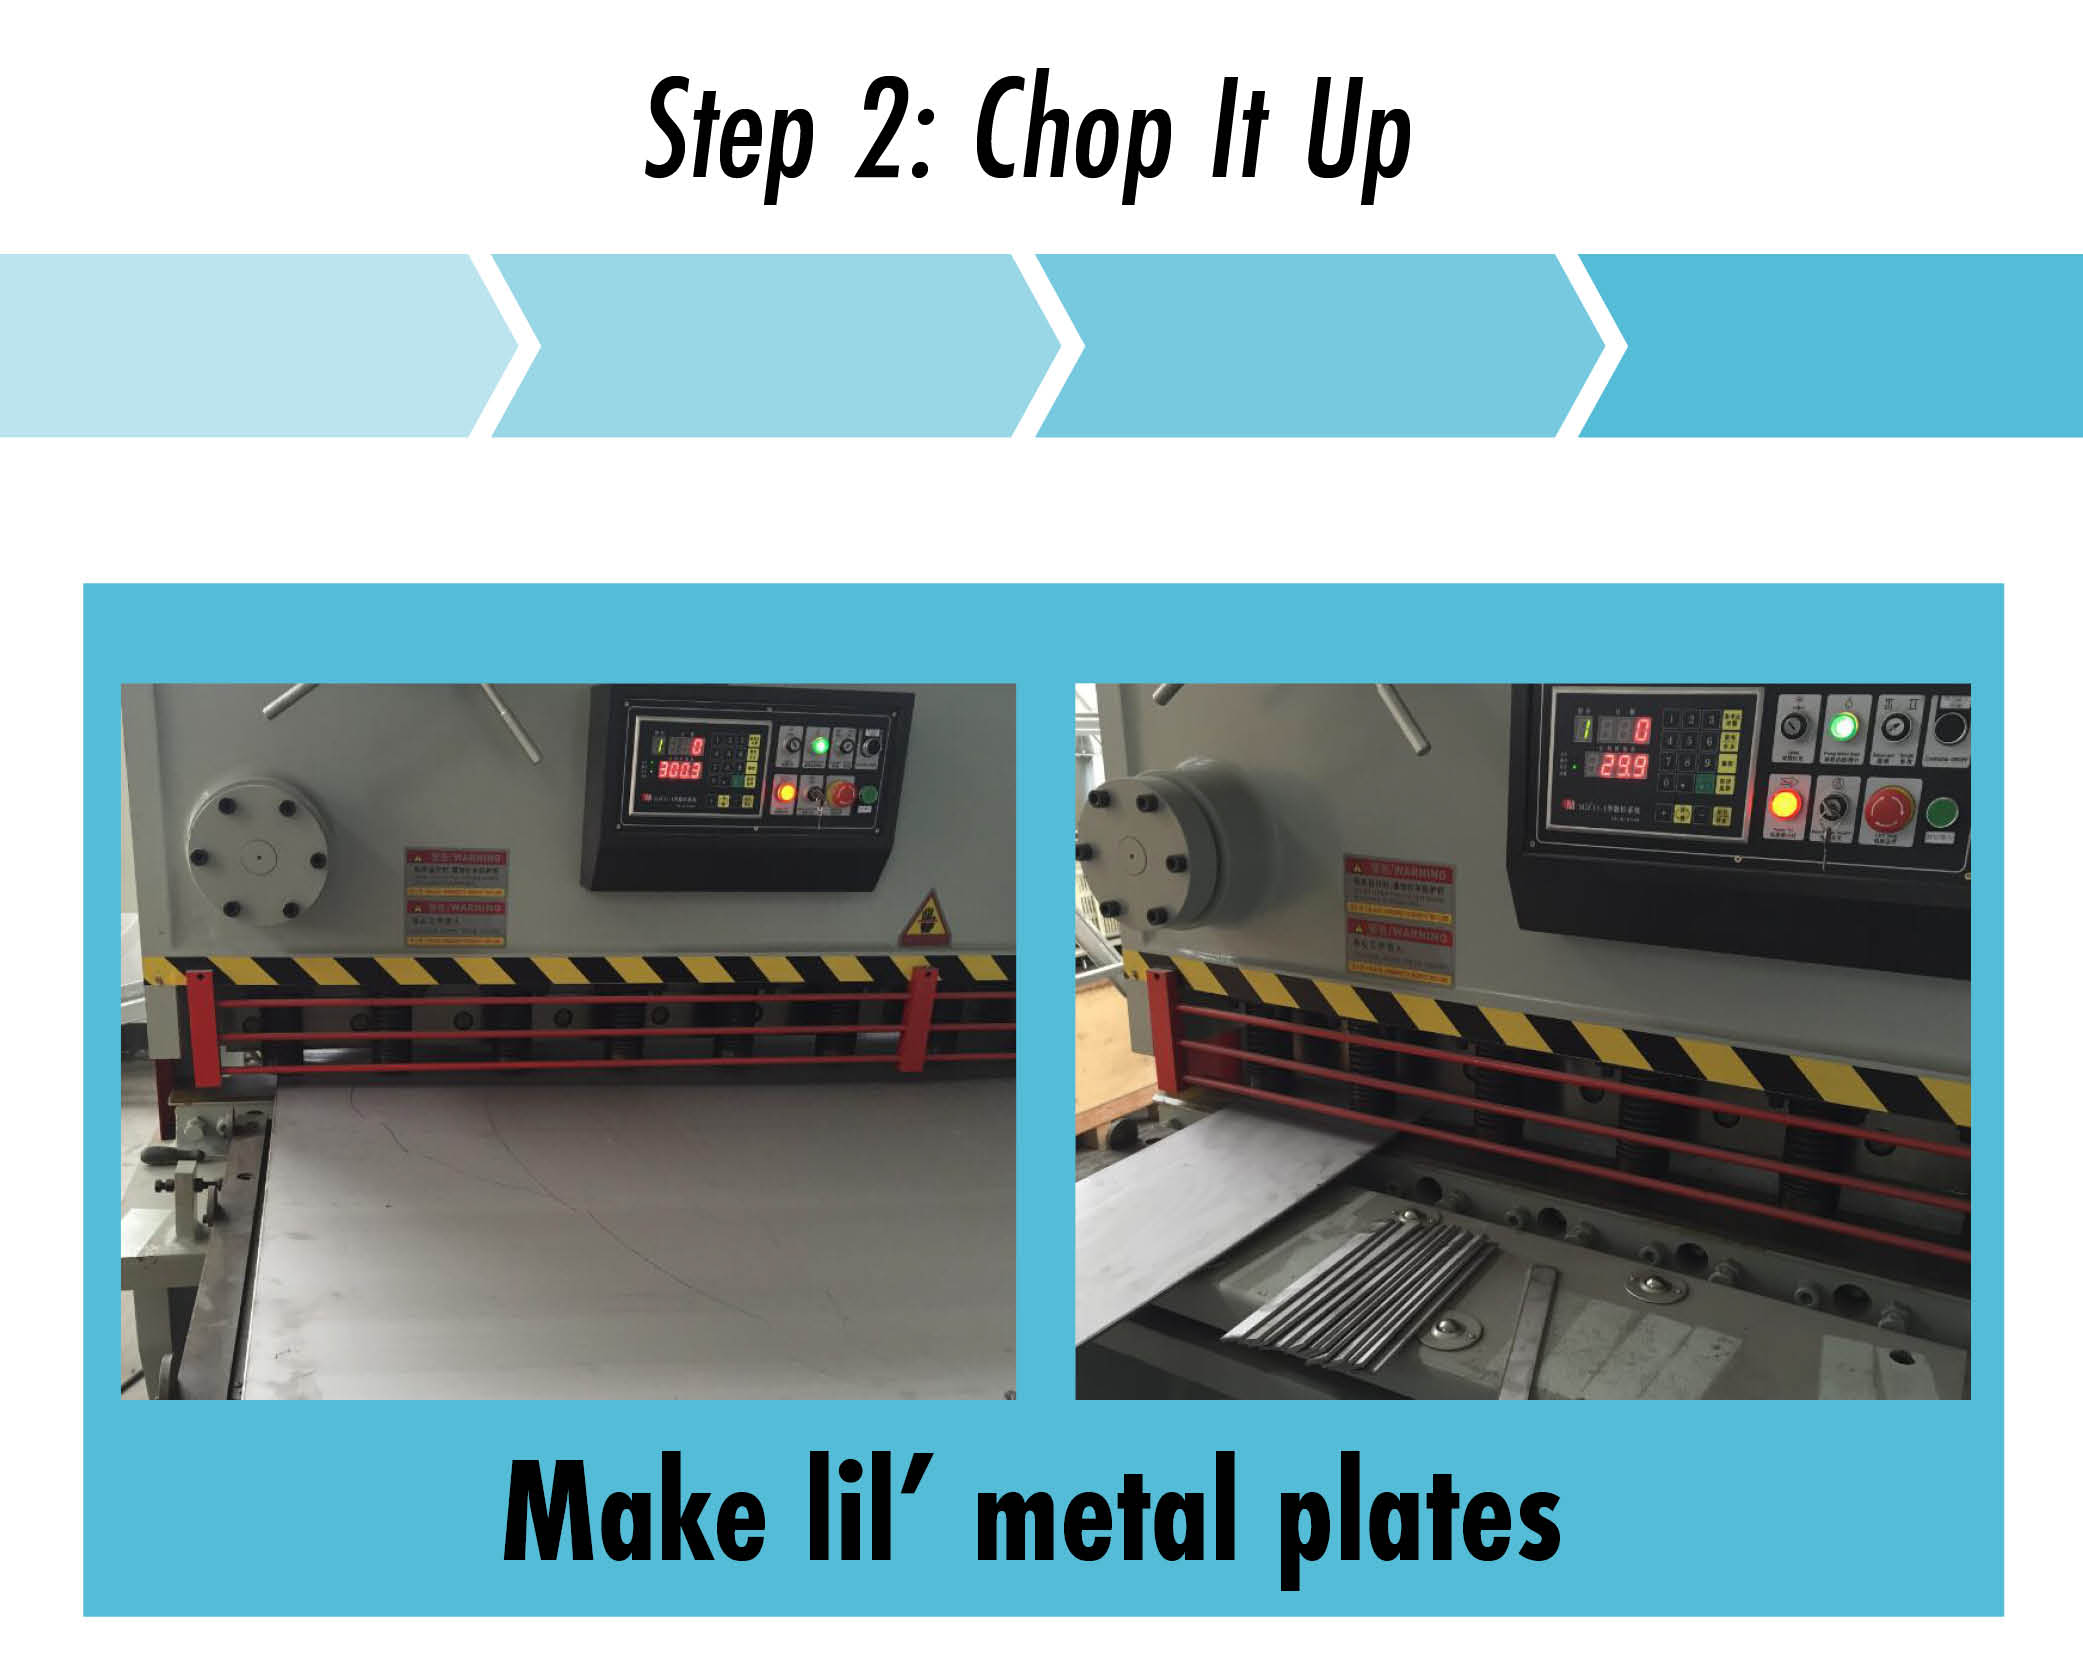
Workers will sort the plates after the machine does the cutting. One box for base plates, one box for arm plates. Those two pieces are the essential components involved in creating solar roof hooks. Each solar mounting company produces hooks in generally the same way but this so far is the meat of it.
Step 3: Punch It
The third step brings in the hole punching. Arm plates and base plates each get their own predetermined set of holes punched for specific hooks.
We've always made our hooks with larger slots than common so there is room for adjustment. Whether it's the racking, the panels, the roof itself, etc. installers have told us that an extra bit of room makes their jobs much easier on the roof.
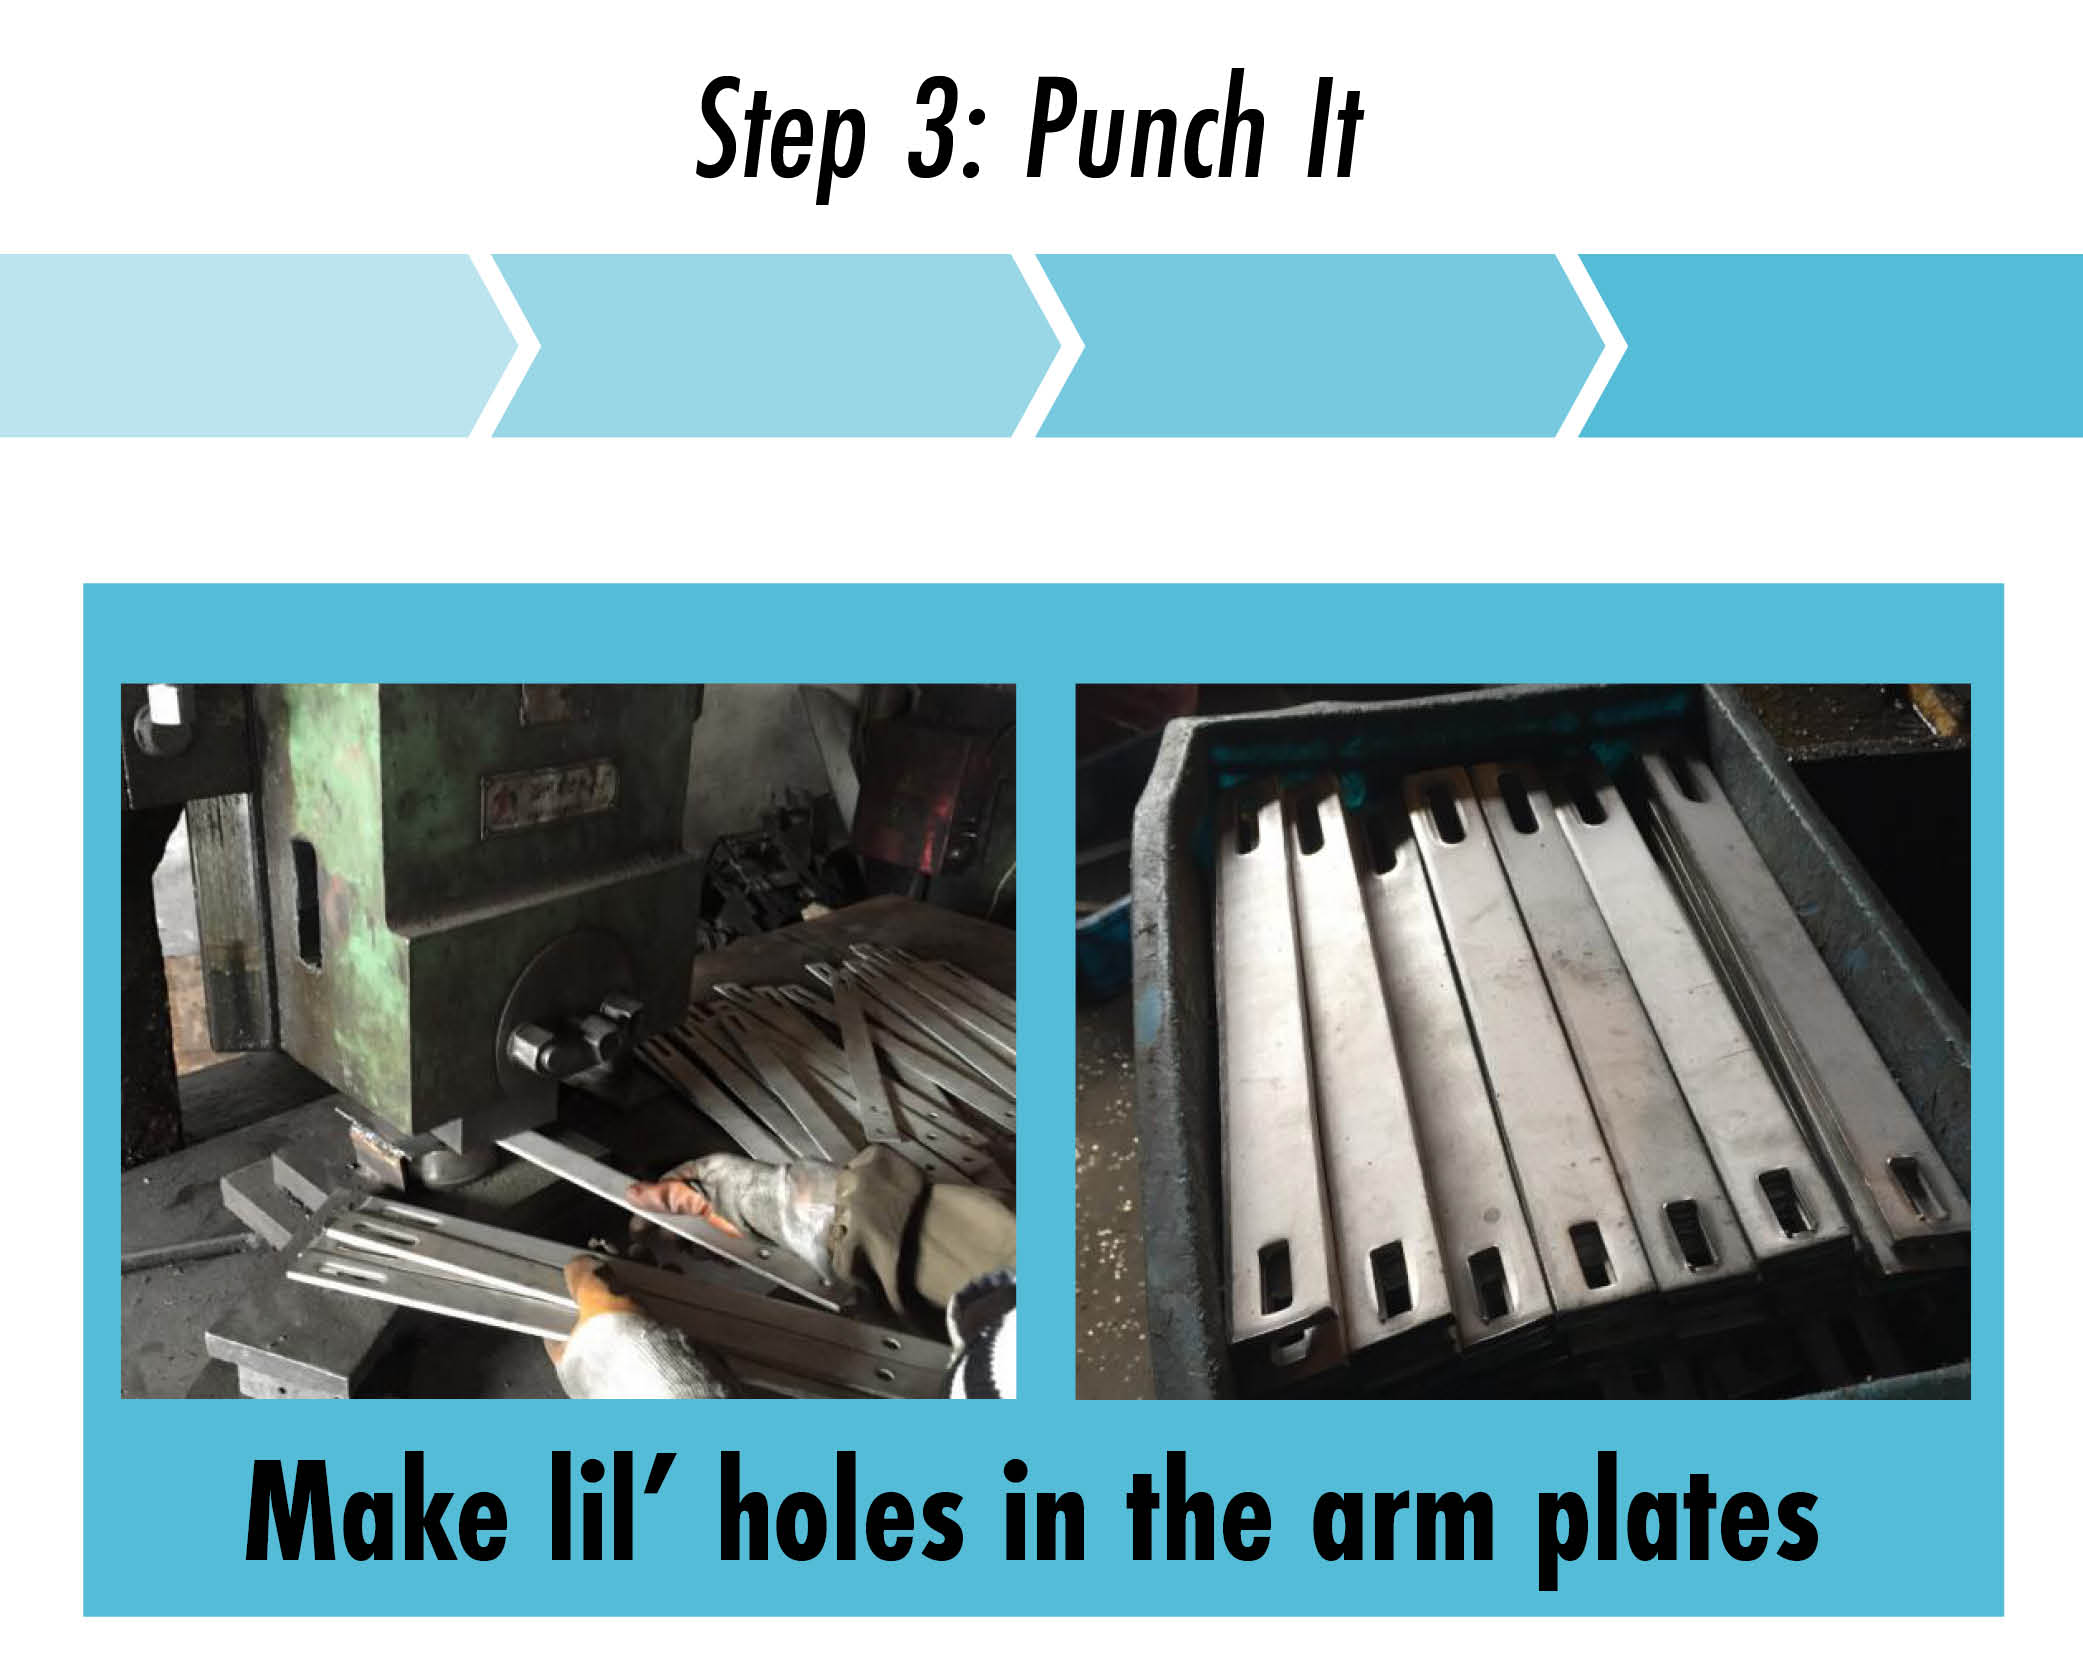
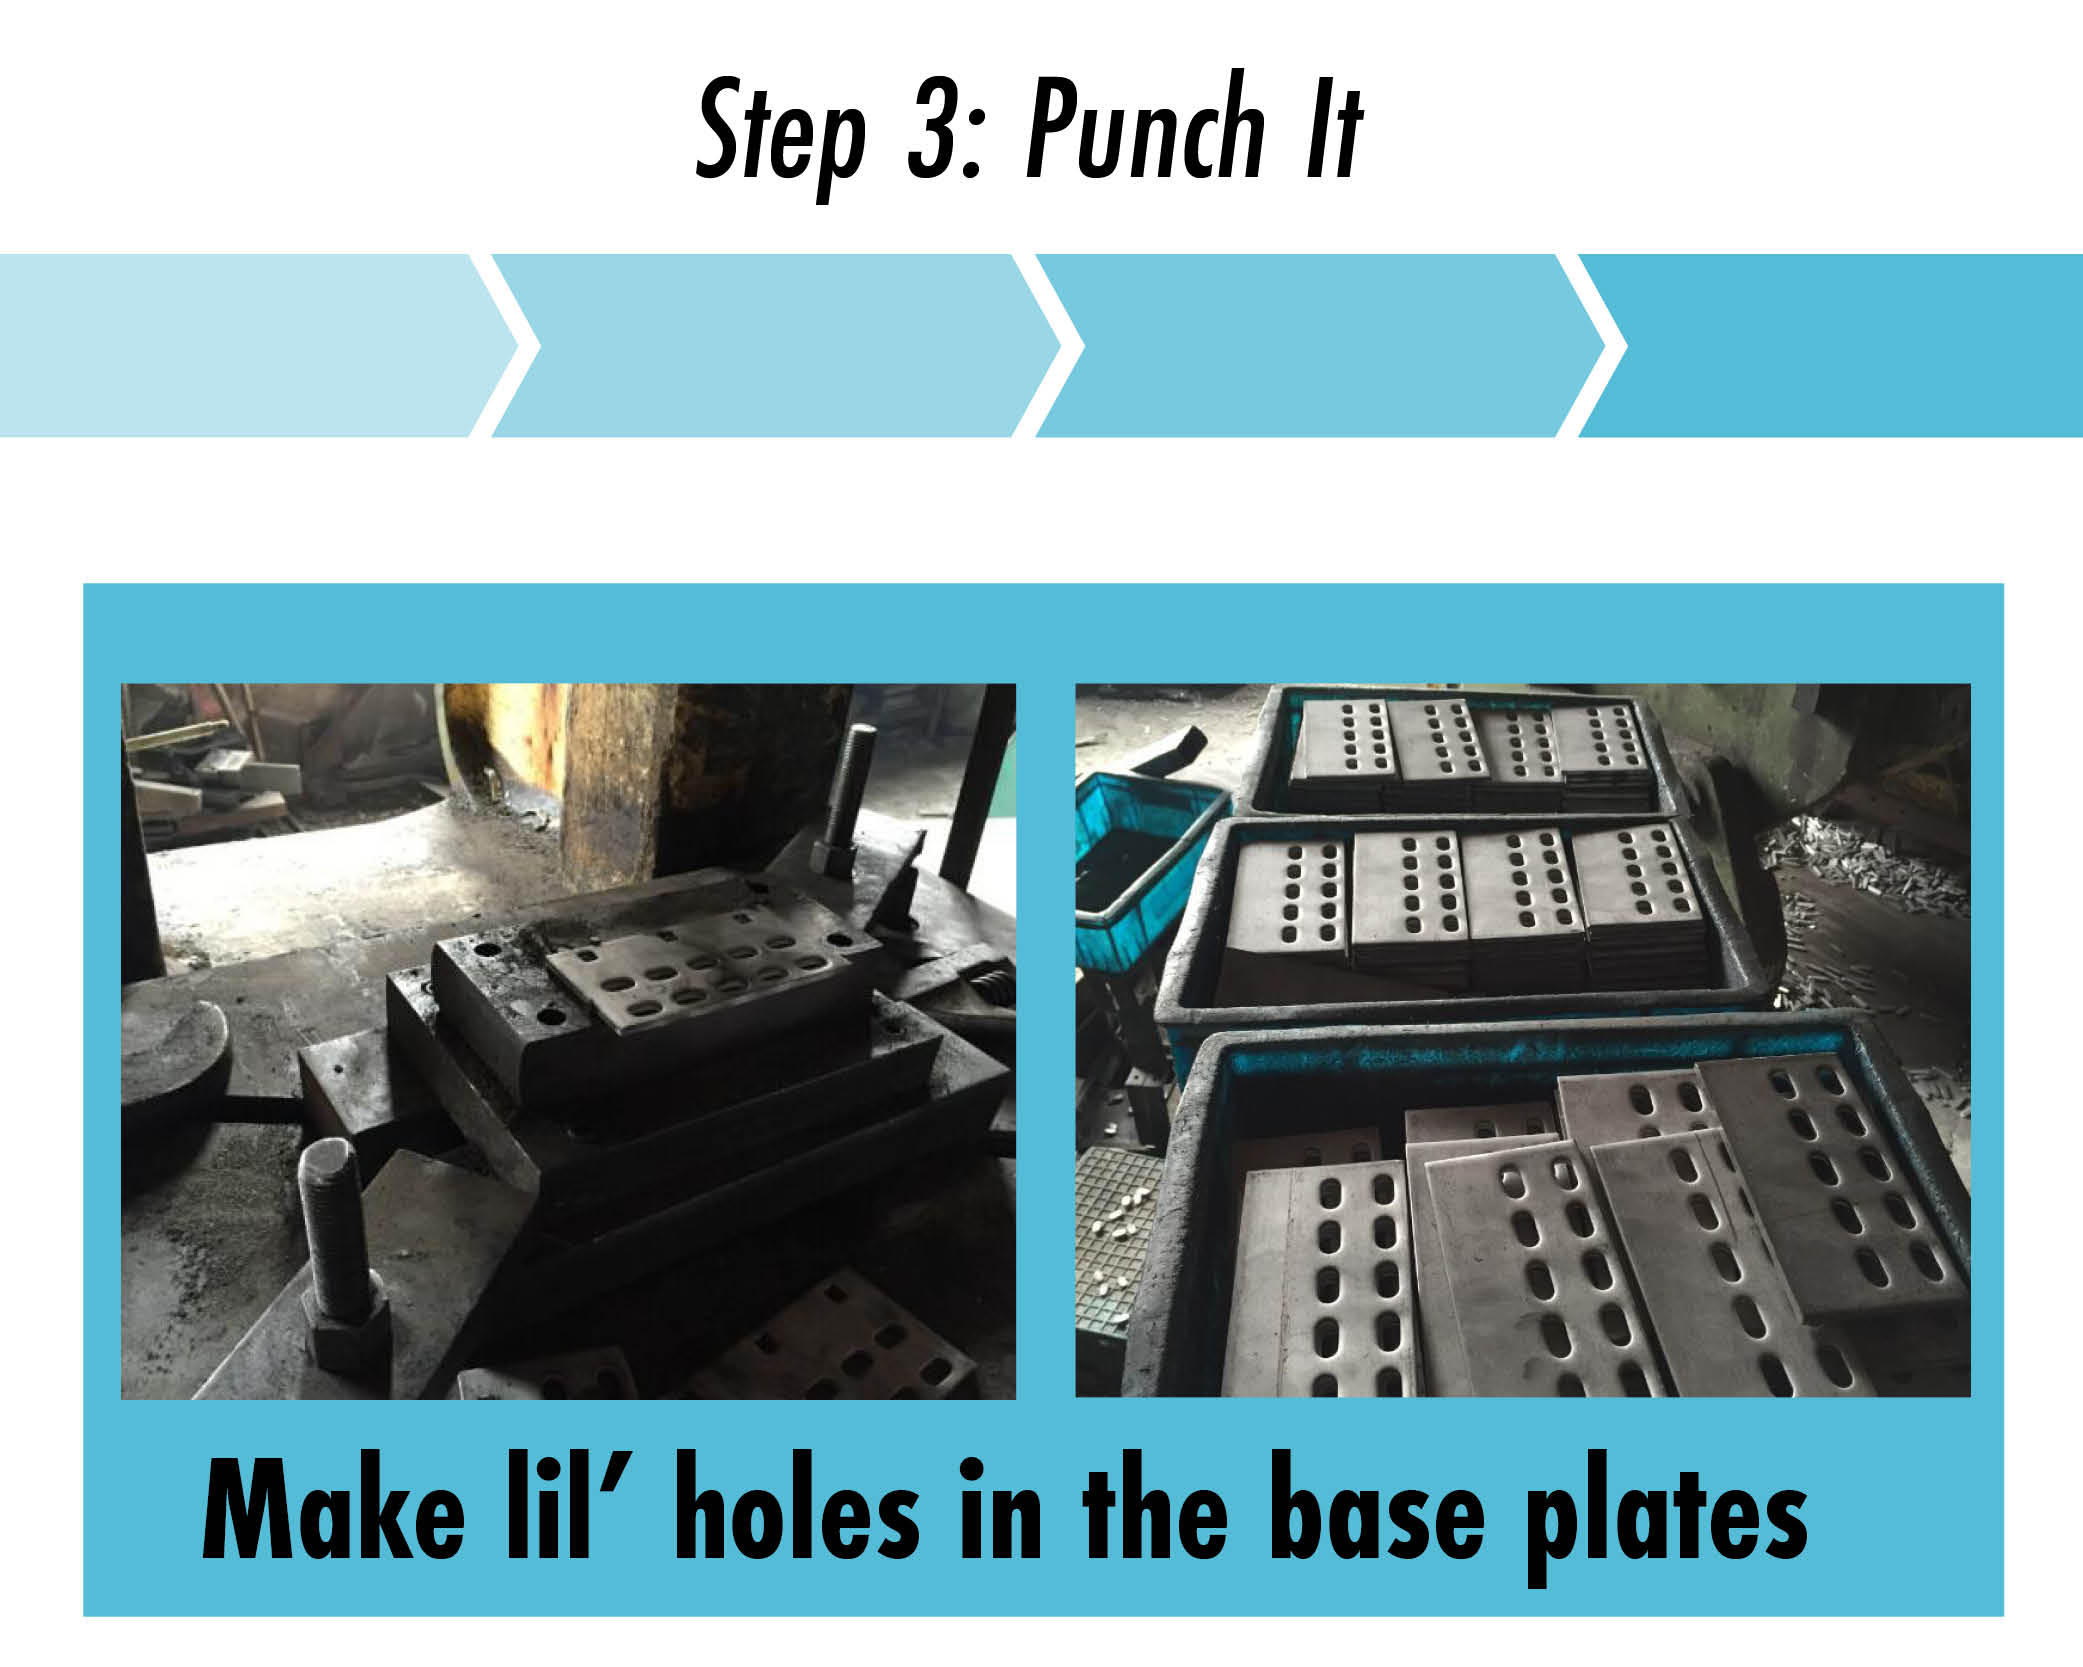
We make a variety of roof hooks for flat tile, curved tile, stone-coated steel roofs. With so many roof variations you never know what you may encounter, so we came up with the All-Tile Roof Hook. That product allows for the ultimate adjustability in hook placement and racking/panel attachment.
Installers really appreciated that philosophy so we widened the slots on most of our solar roof hooks, even the attachments for metal roofs and asphalt roofs.
Step 4: Make Them Shiny
After punching holes and slots into the plates, it's time to make them shine. We pass them over to the grinders/sanders to knock away any burrs created in the punching process.
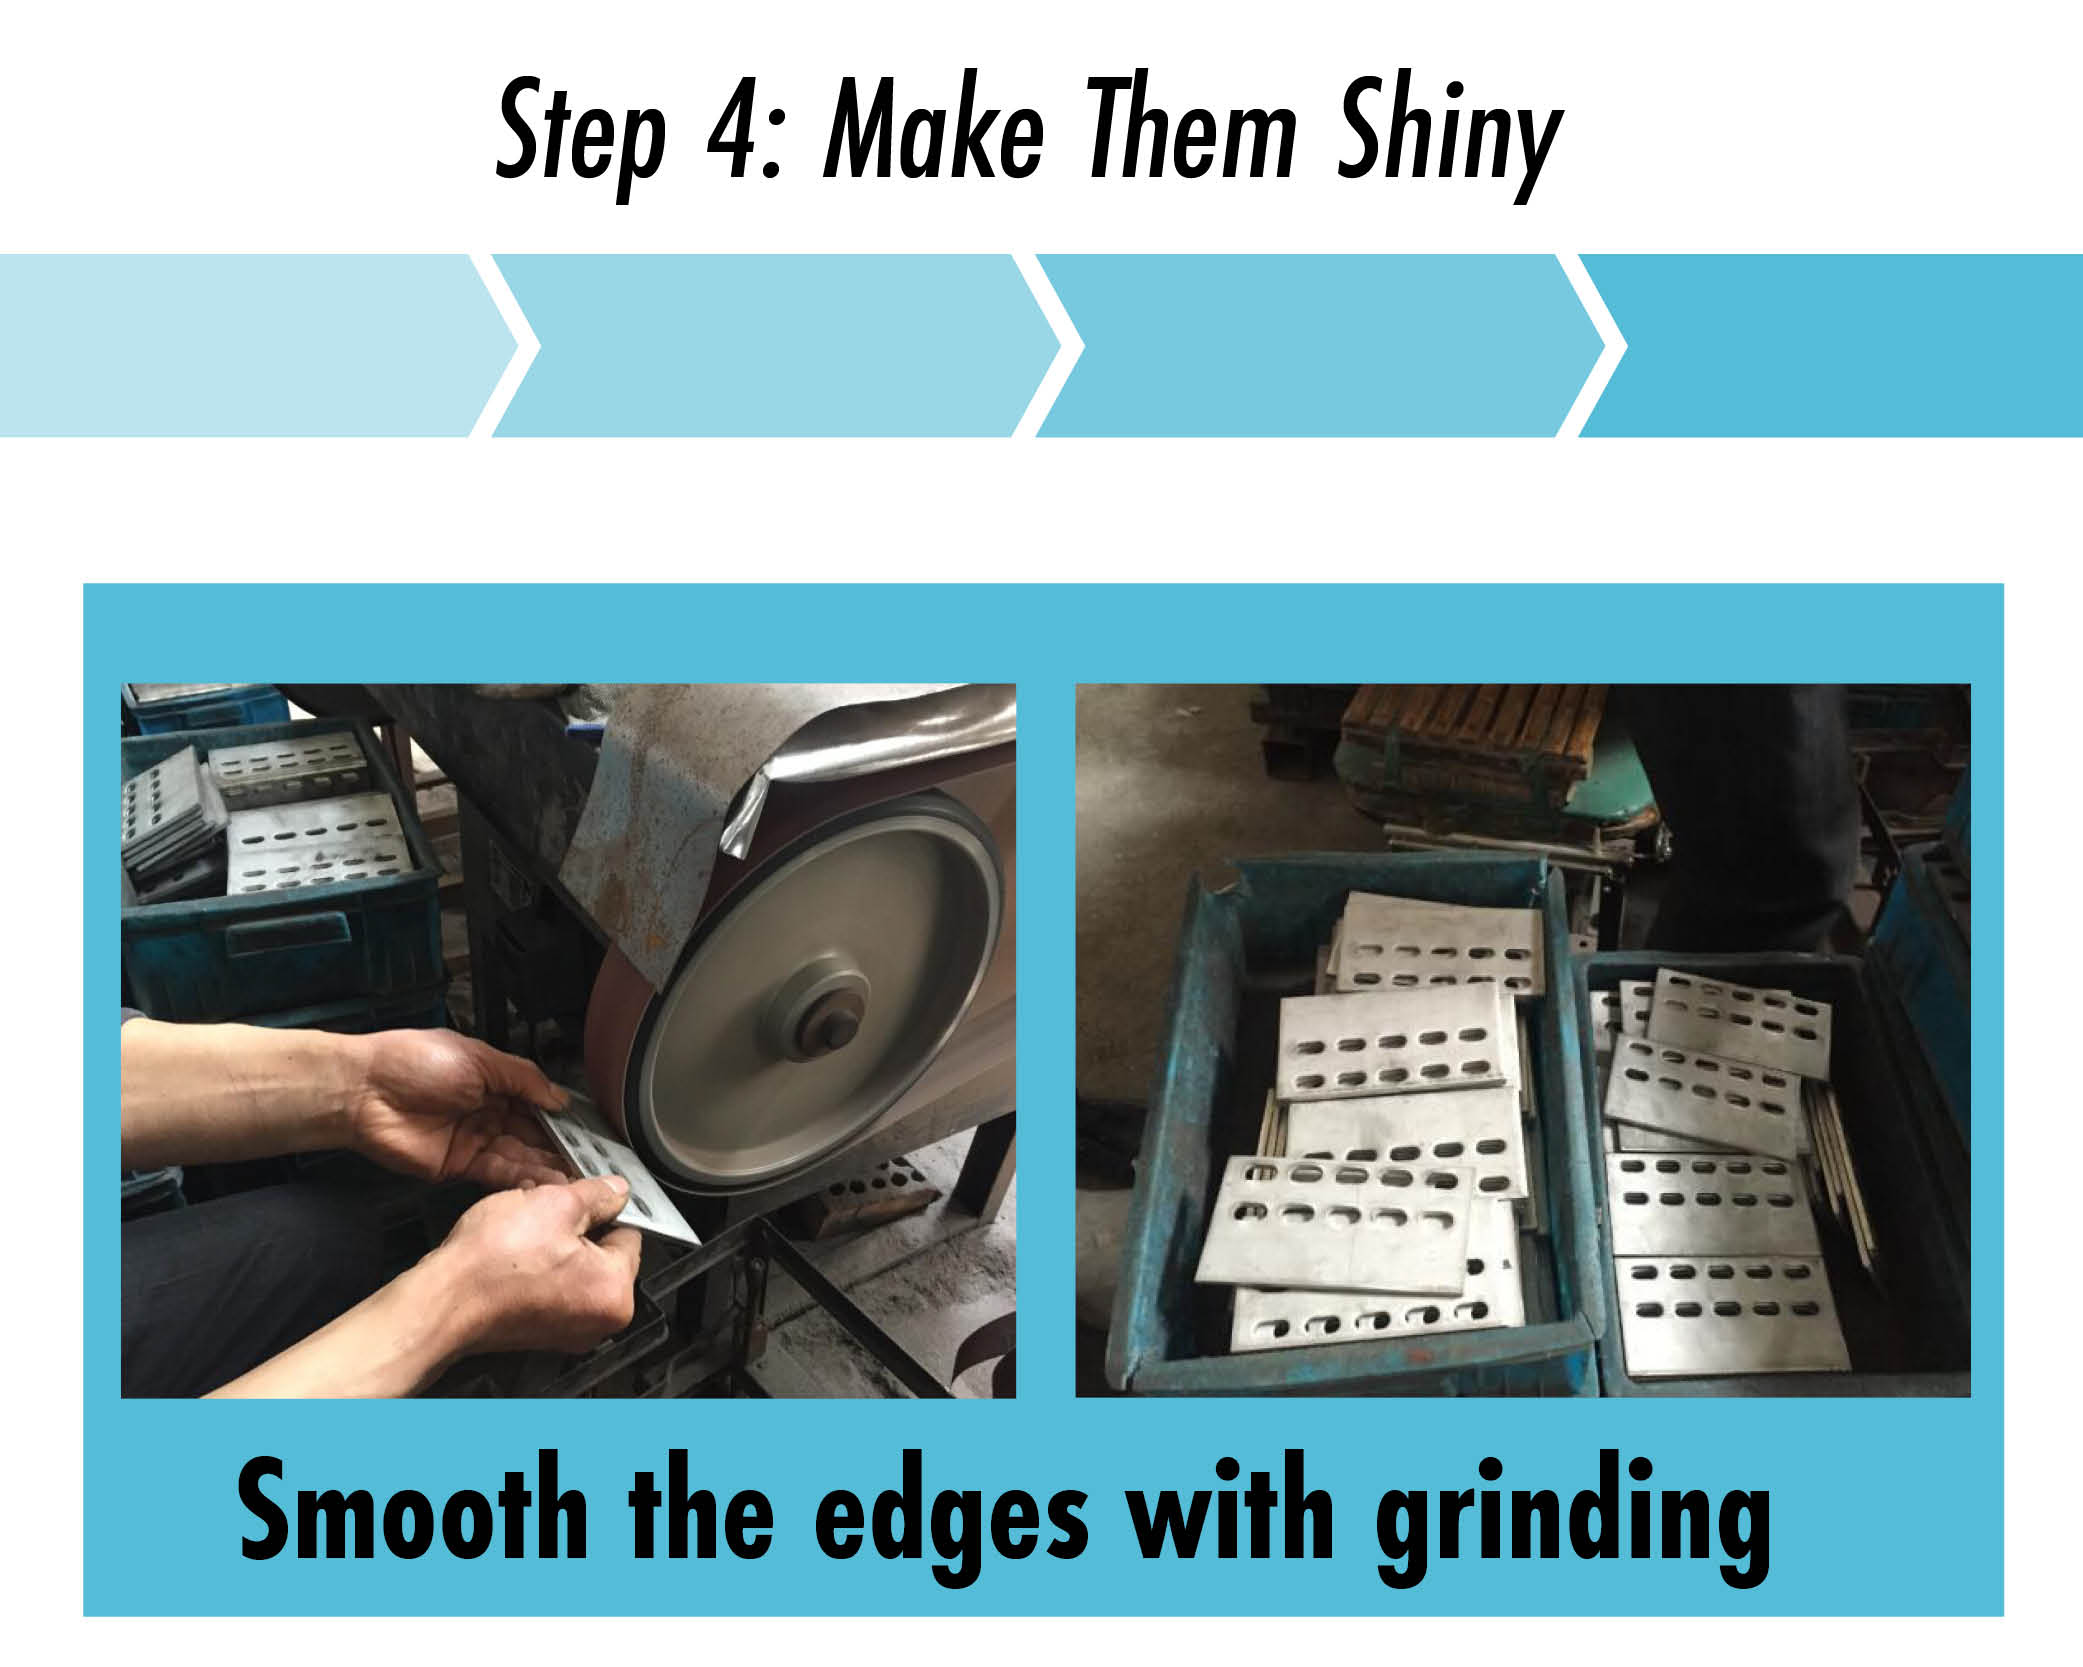
Rough and sharp edges make for a pretty shitty time on the roof. Installers told us that cutting their hands was a common occurrence so we take care to smooth out the edges of the steel. So in addition to making the hooks safer to handle, this step gives them some extra shine for aesthetics. Beautiful!
Step 5: Get Knurly
The fifth step of the process produces extra grip strength in the hooks. We call this part of the process 'knurling' because our machines add knurling to the hooks, no surprises there.
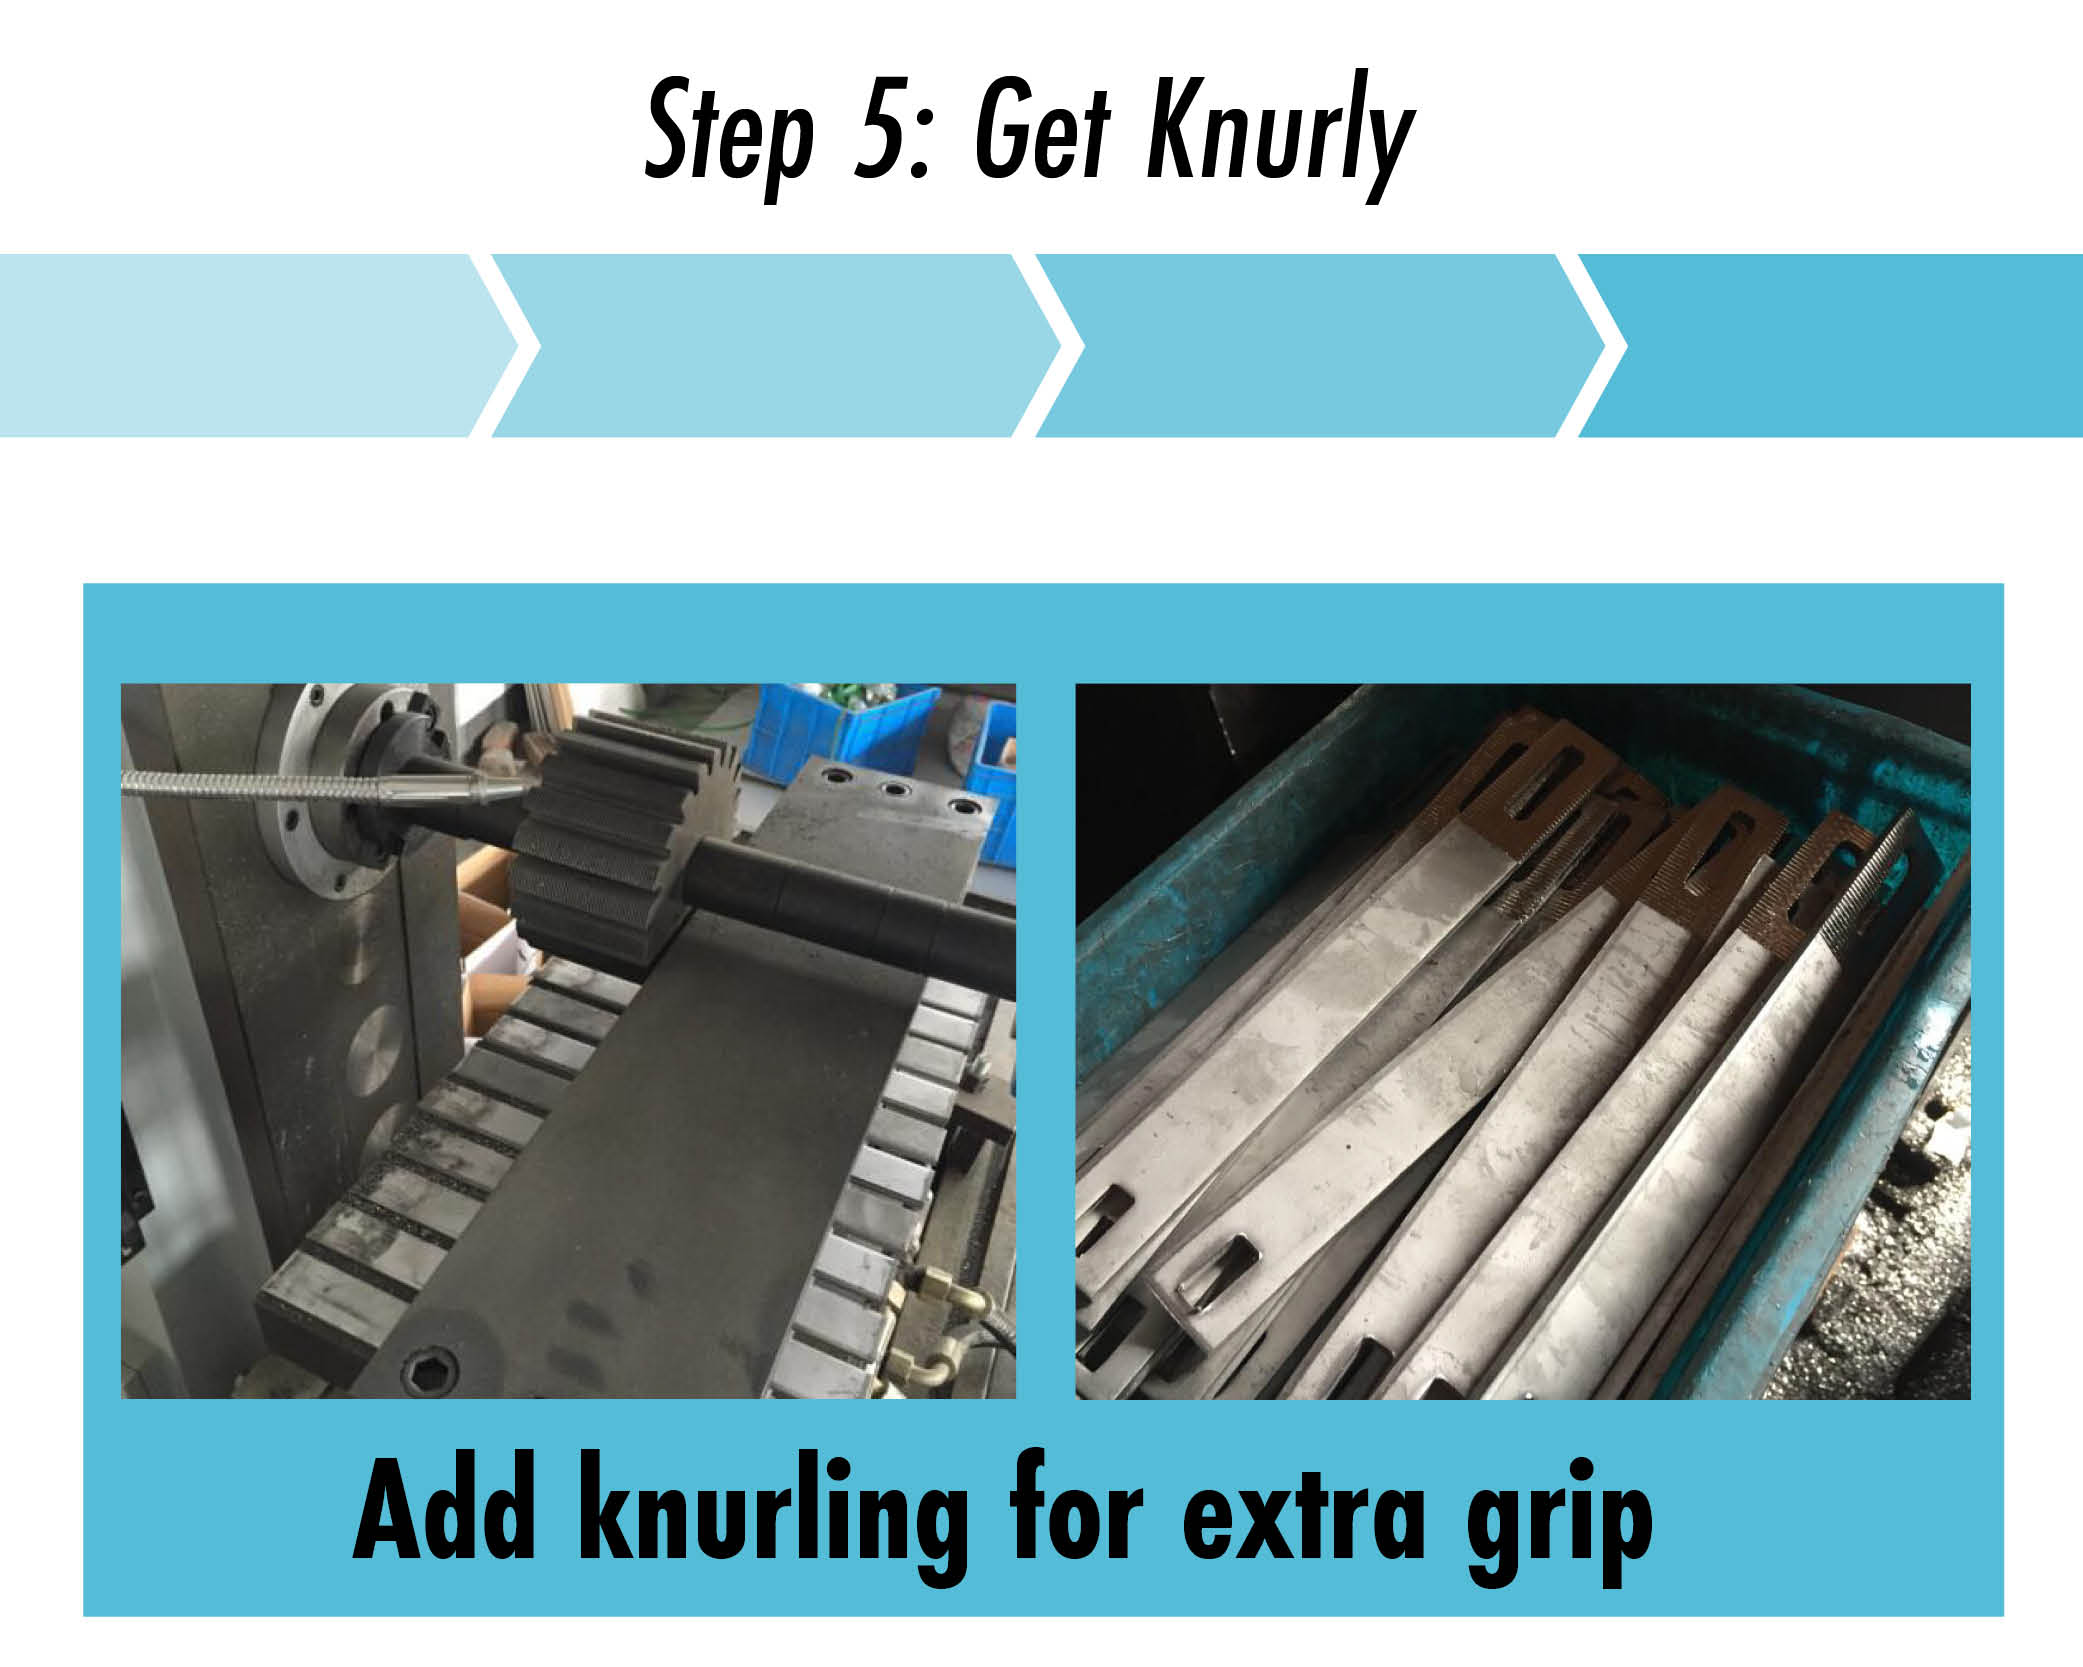
Why would you care about knurling? This was another improvement we added to hooks after customer feedback. We found that with this extra step the hooks will grip attachments stronger. The knurling lines up with racking, panels, etc. If the arms were smooth then the attachments wouldn't be as secure and could potentially slide around.
Step 6: Get Angular
The next step is to get angular. Here we bend each respective hook into shape. With the wide variety of hooks we produce there comes variation in all of the angles but they are generally accomplished with the same method.
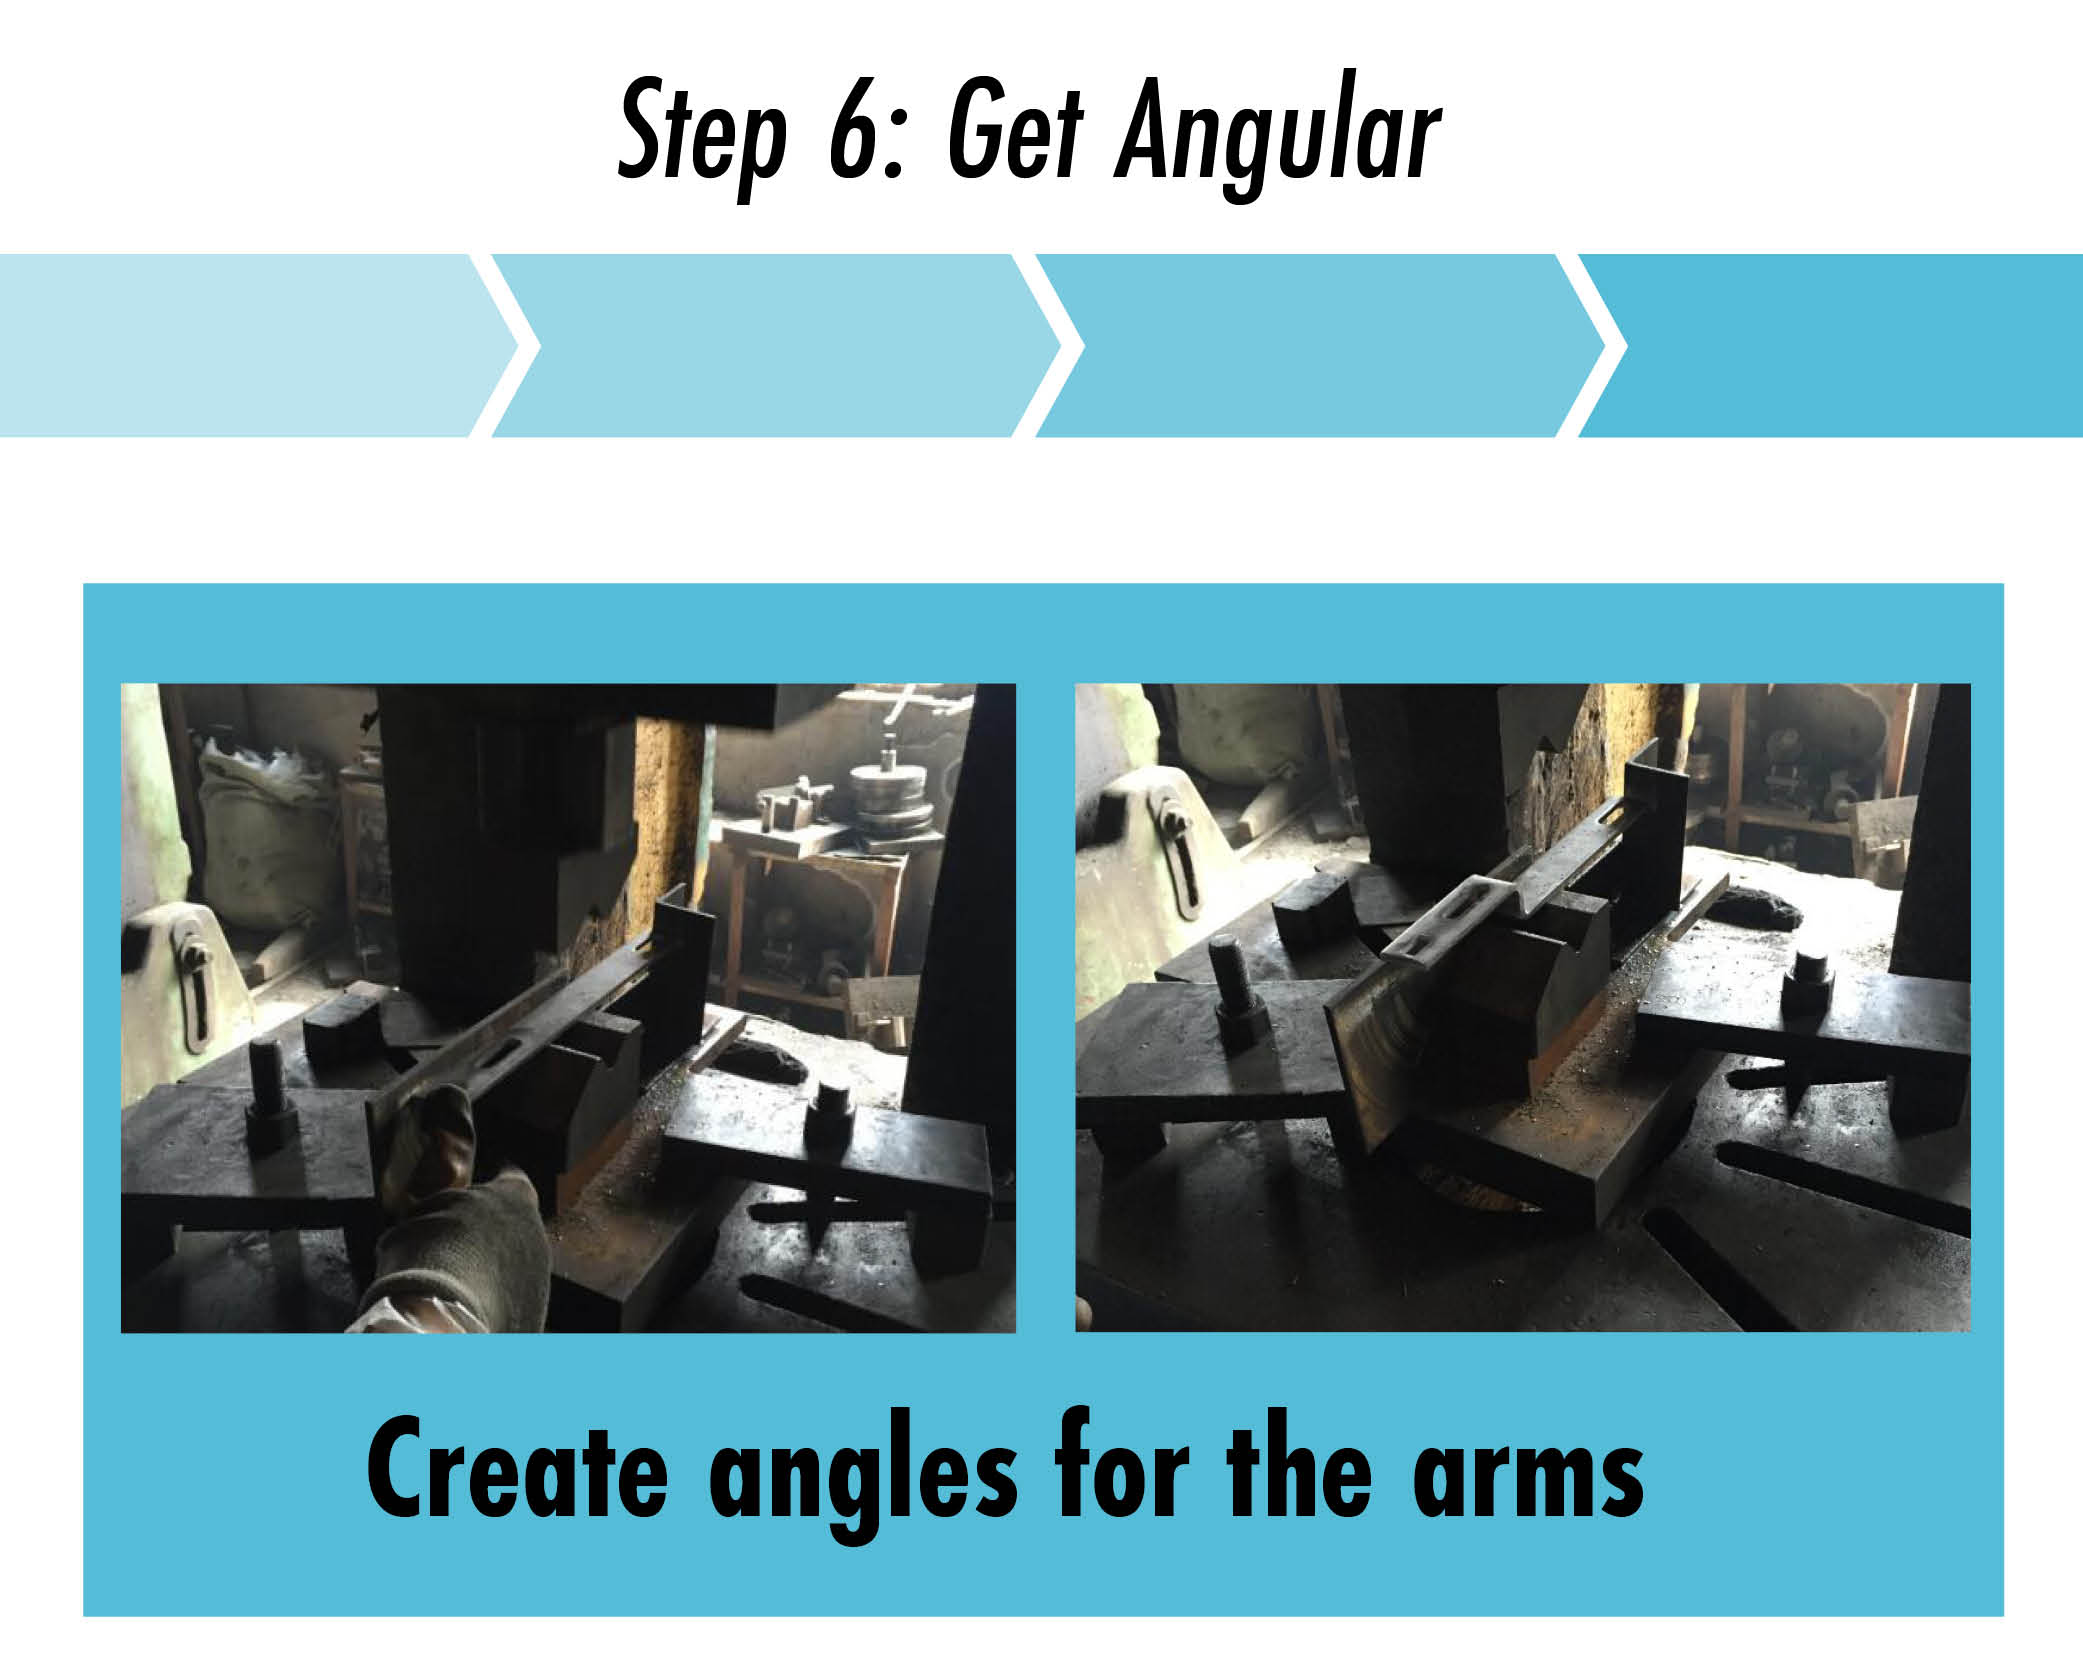
Typically workers utilize a mechanical assistant to bend the hooks into proper shape. We've been told the process feels especially fun as you bend steel like some sort of metal-bending super hero.

Step 7: Weld*
Step 7 involves welding the base plate and arm plates together for our fixed height roof hooks. This step actually breaks off into two parts as we obviously don't weld together the components of the adjustable roof hooks.
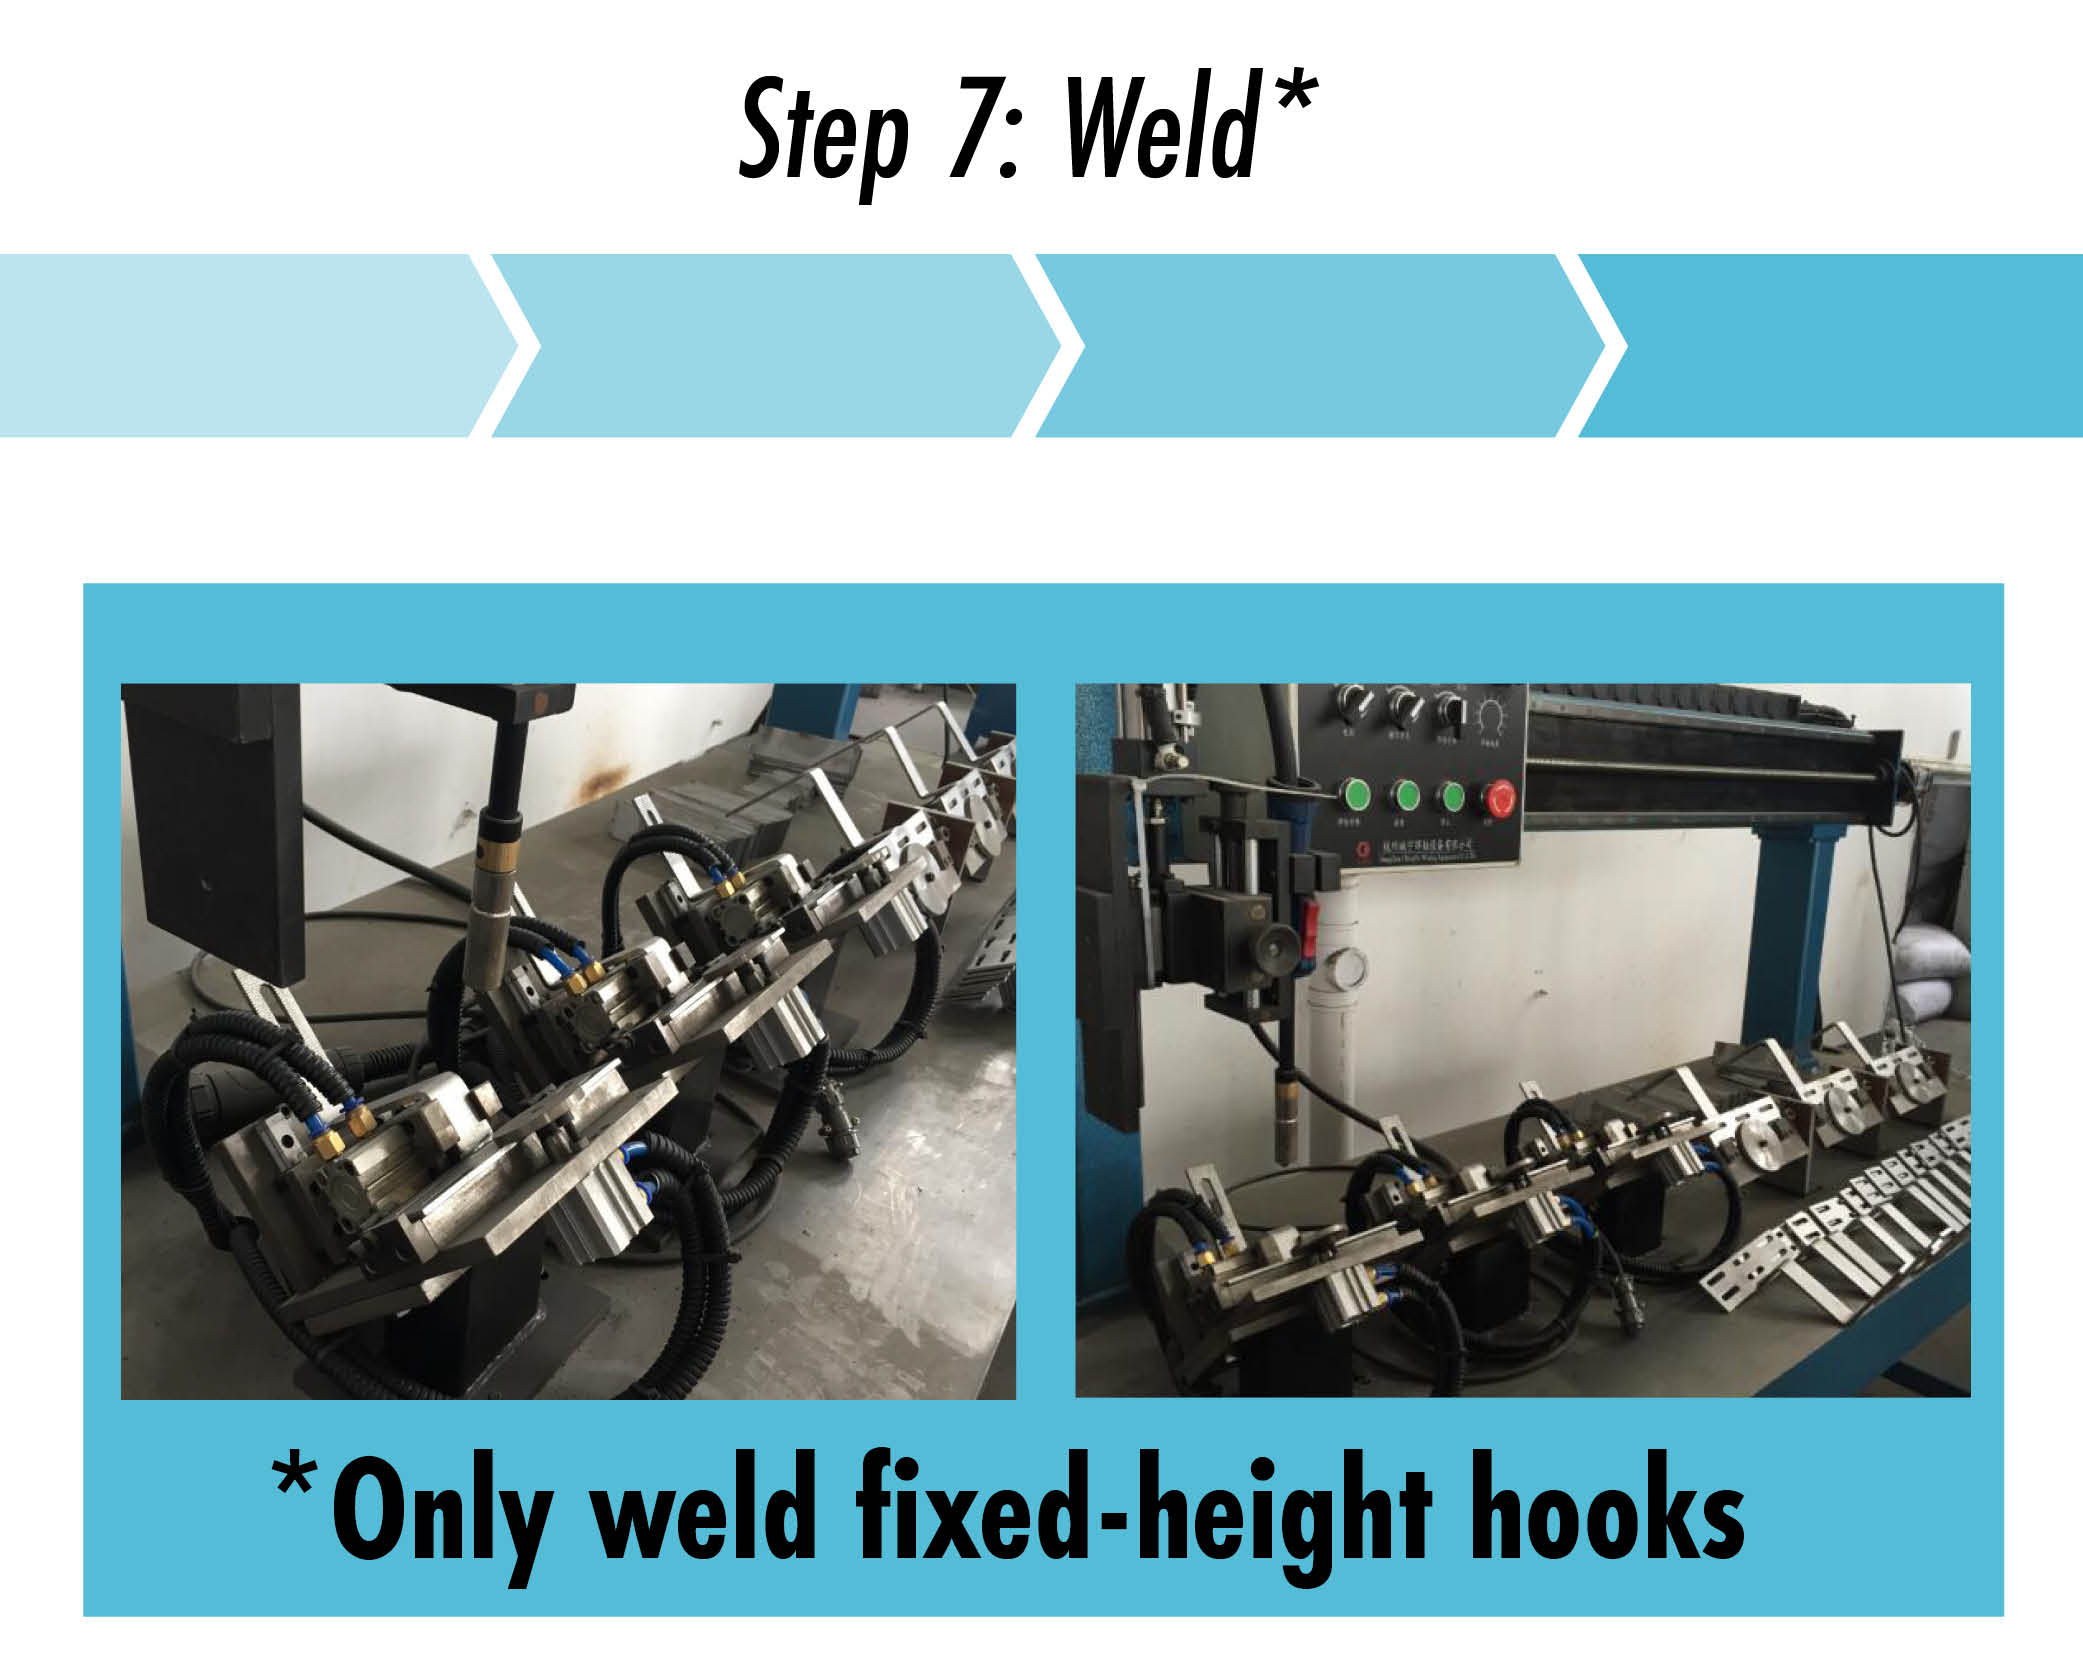
Welding is welding, but if you aren't familiar with the process here's how it works: welding bonds the two metal components together through intense heat. There are many different types of welding but that is the gist of it.
Step 8: Blast 'Em
Next up, BLAST 'EM. Here we hit the hooks with sandblasting to provide a final round of smooth finish.
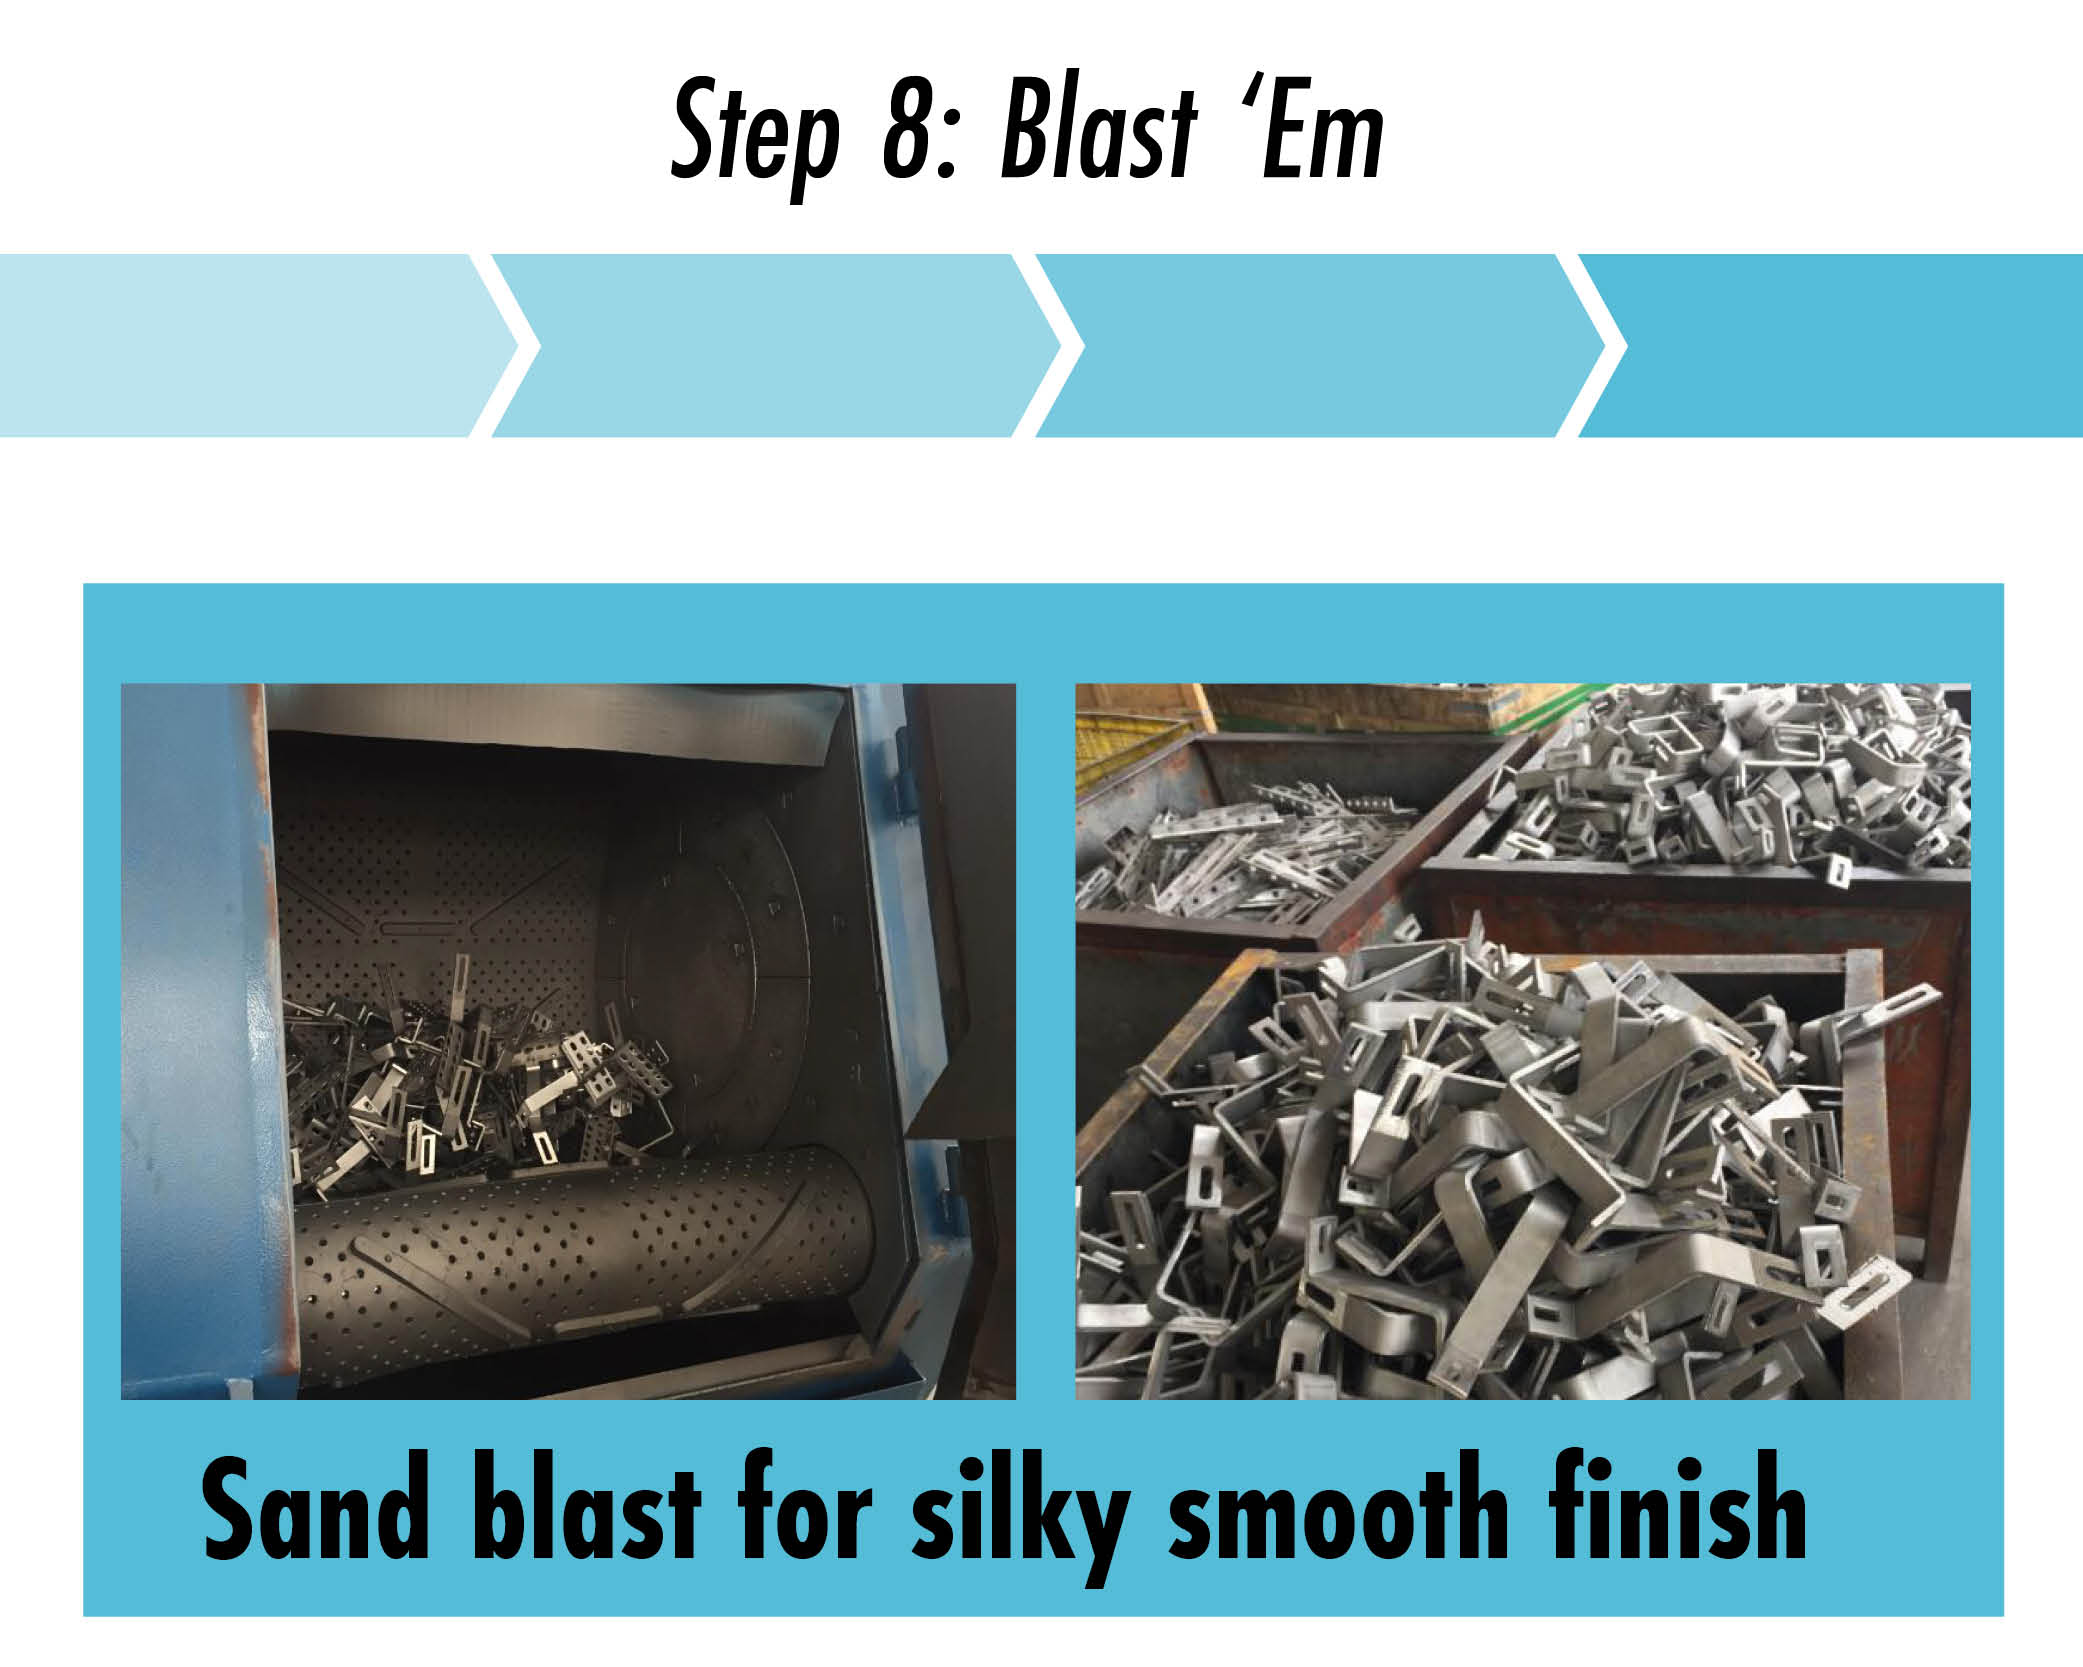
The product is silky smooth metal hooks. No burrs, smooth edges, and easy to grip in the hands.
Step 9: Make Them Adjustable for Y'all Lovely Installers
As we mentioned up above, our customers love the freedom in adjustable hooks. This would be the alternative step to welding in step 7.
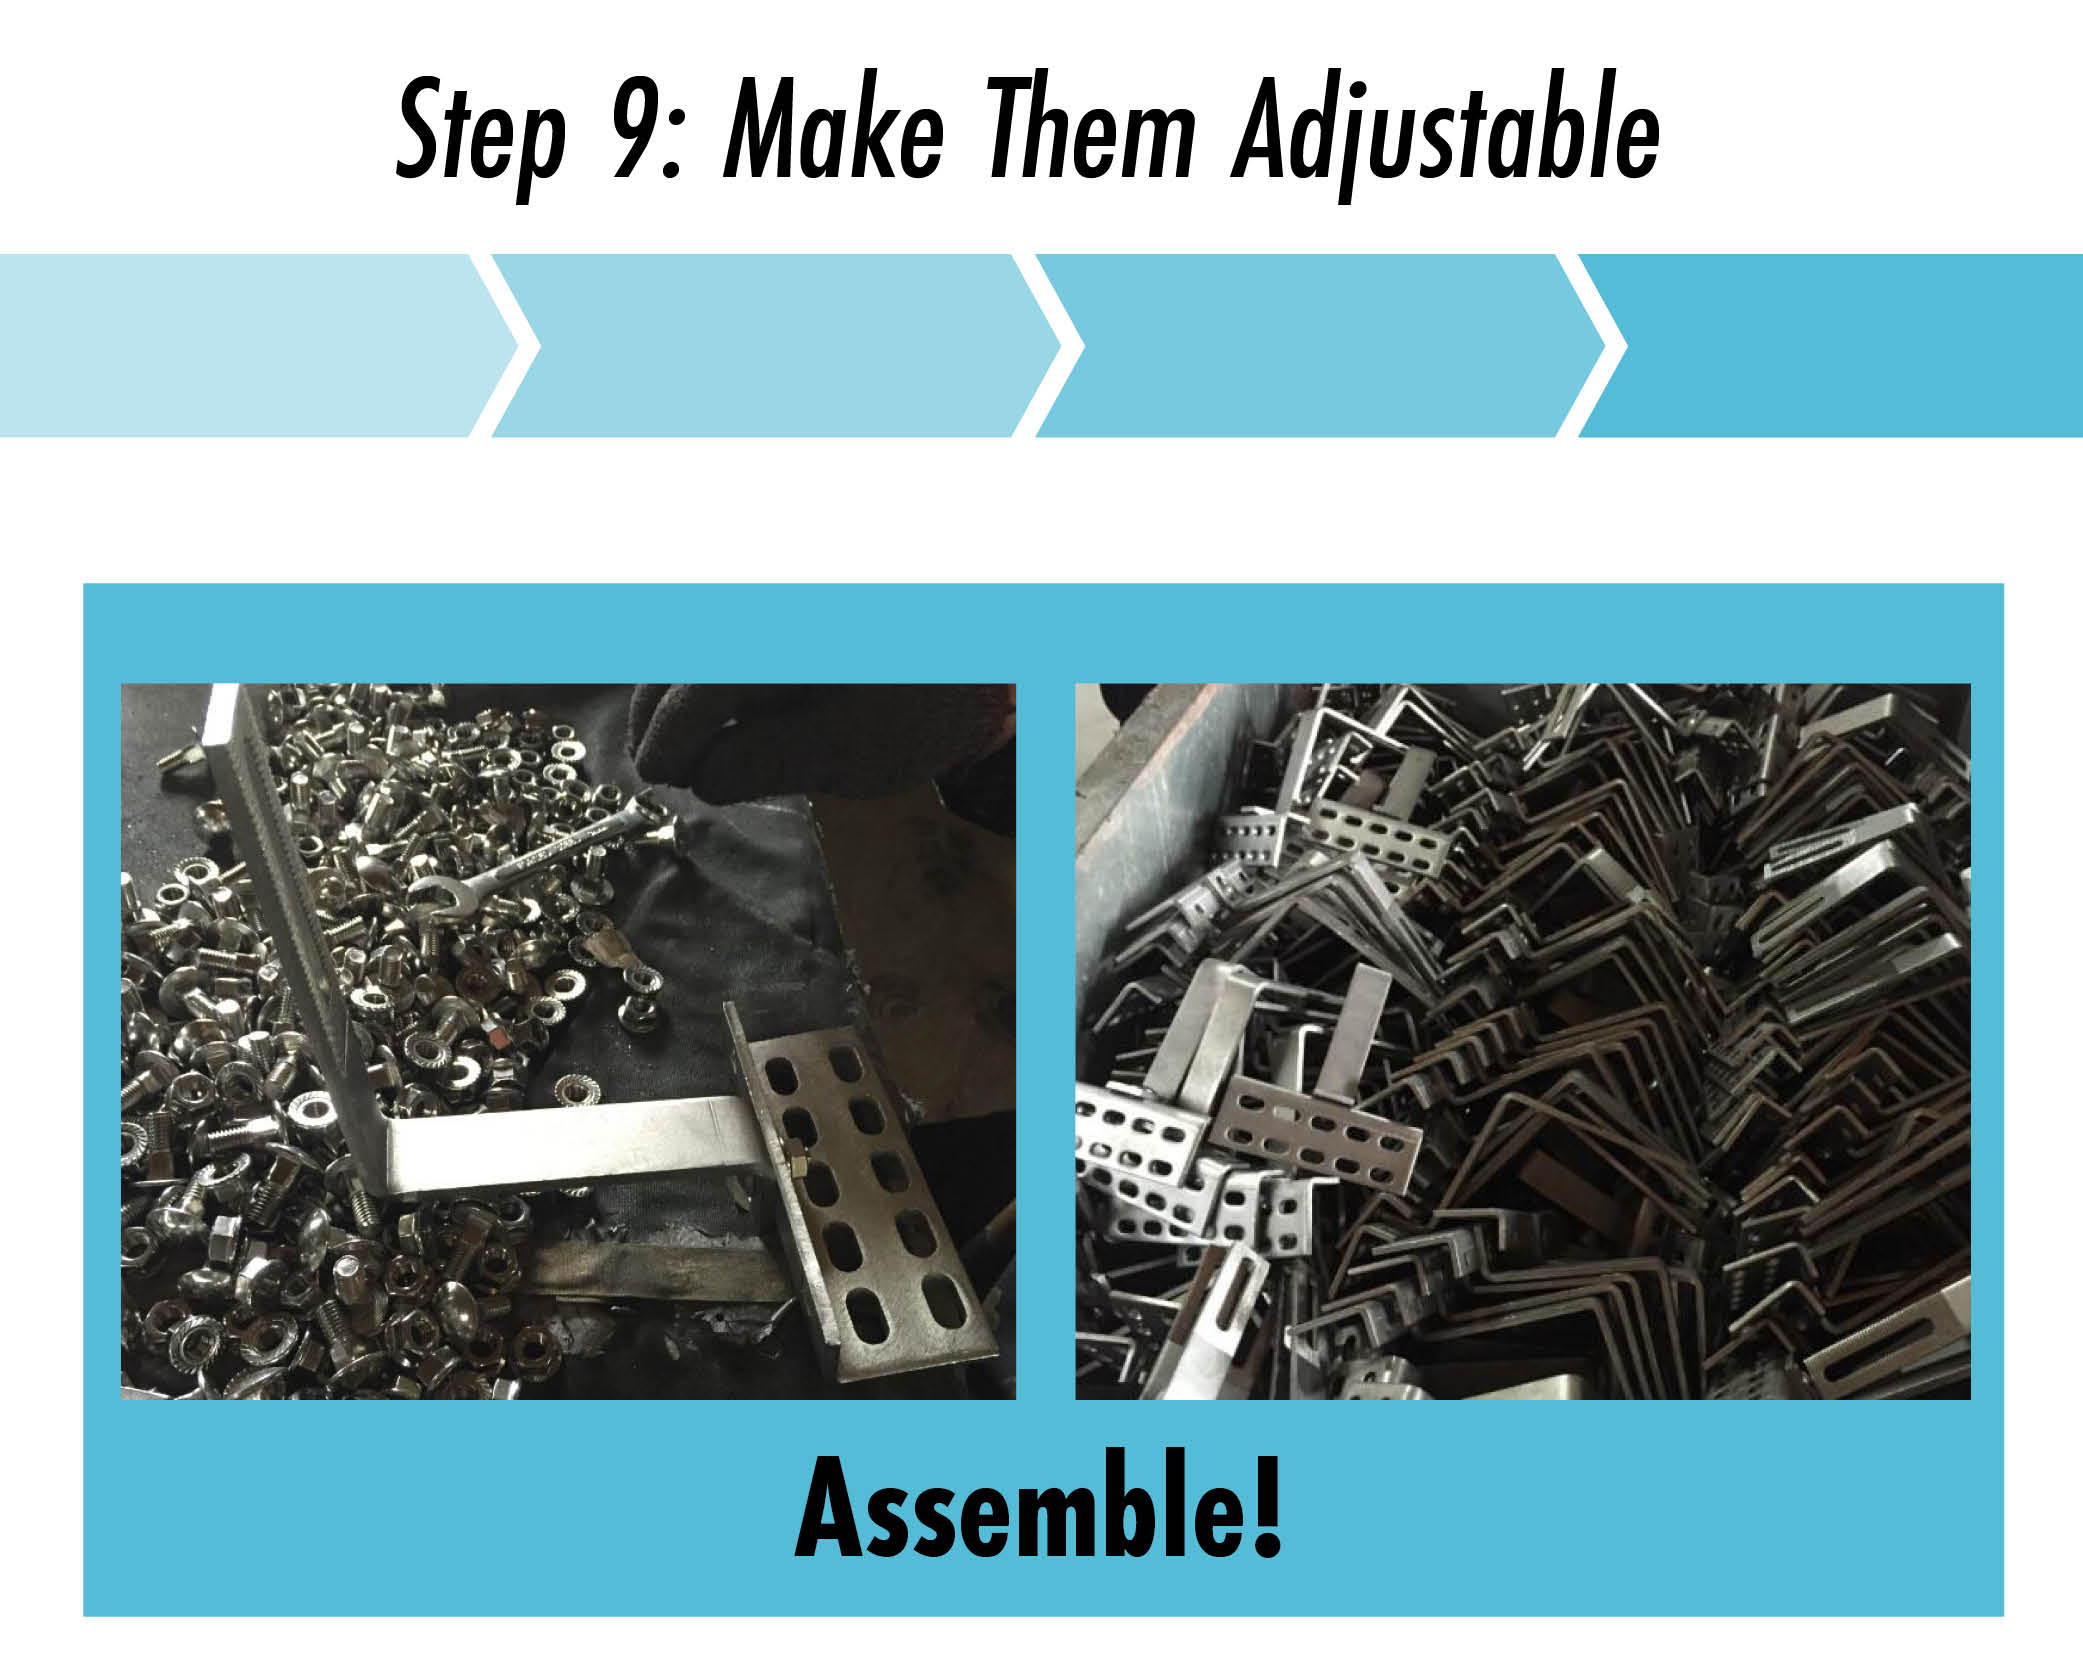
Adjustable hooks are a fan-favorite and we make sure to have them preassembled so parts aren't flying around your boxes. Yes, you will have to reassemble them if you want to make adjustments but packing these hooks loosely and unassembled didn't appeal to anyone.
Step 10
The second to last step in this grand process is the most important - quality control. We have a standard to abide by for our products and keeping our customers complaint-free is a priority.
Here we have standardized quality control checks to ensure hooks are bent according to the proper angles and dimensions, and that pieces withstand their intended application tolerances on the roof.
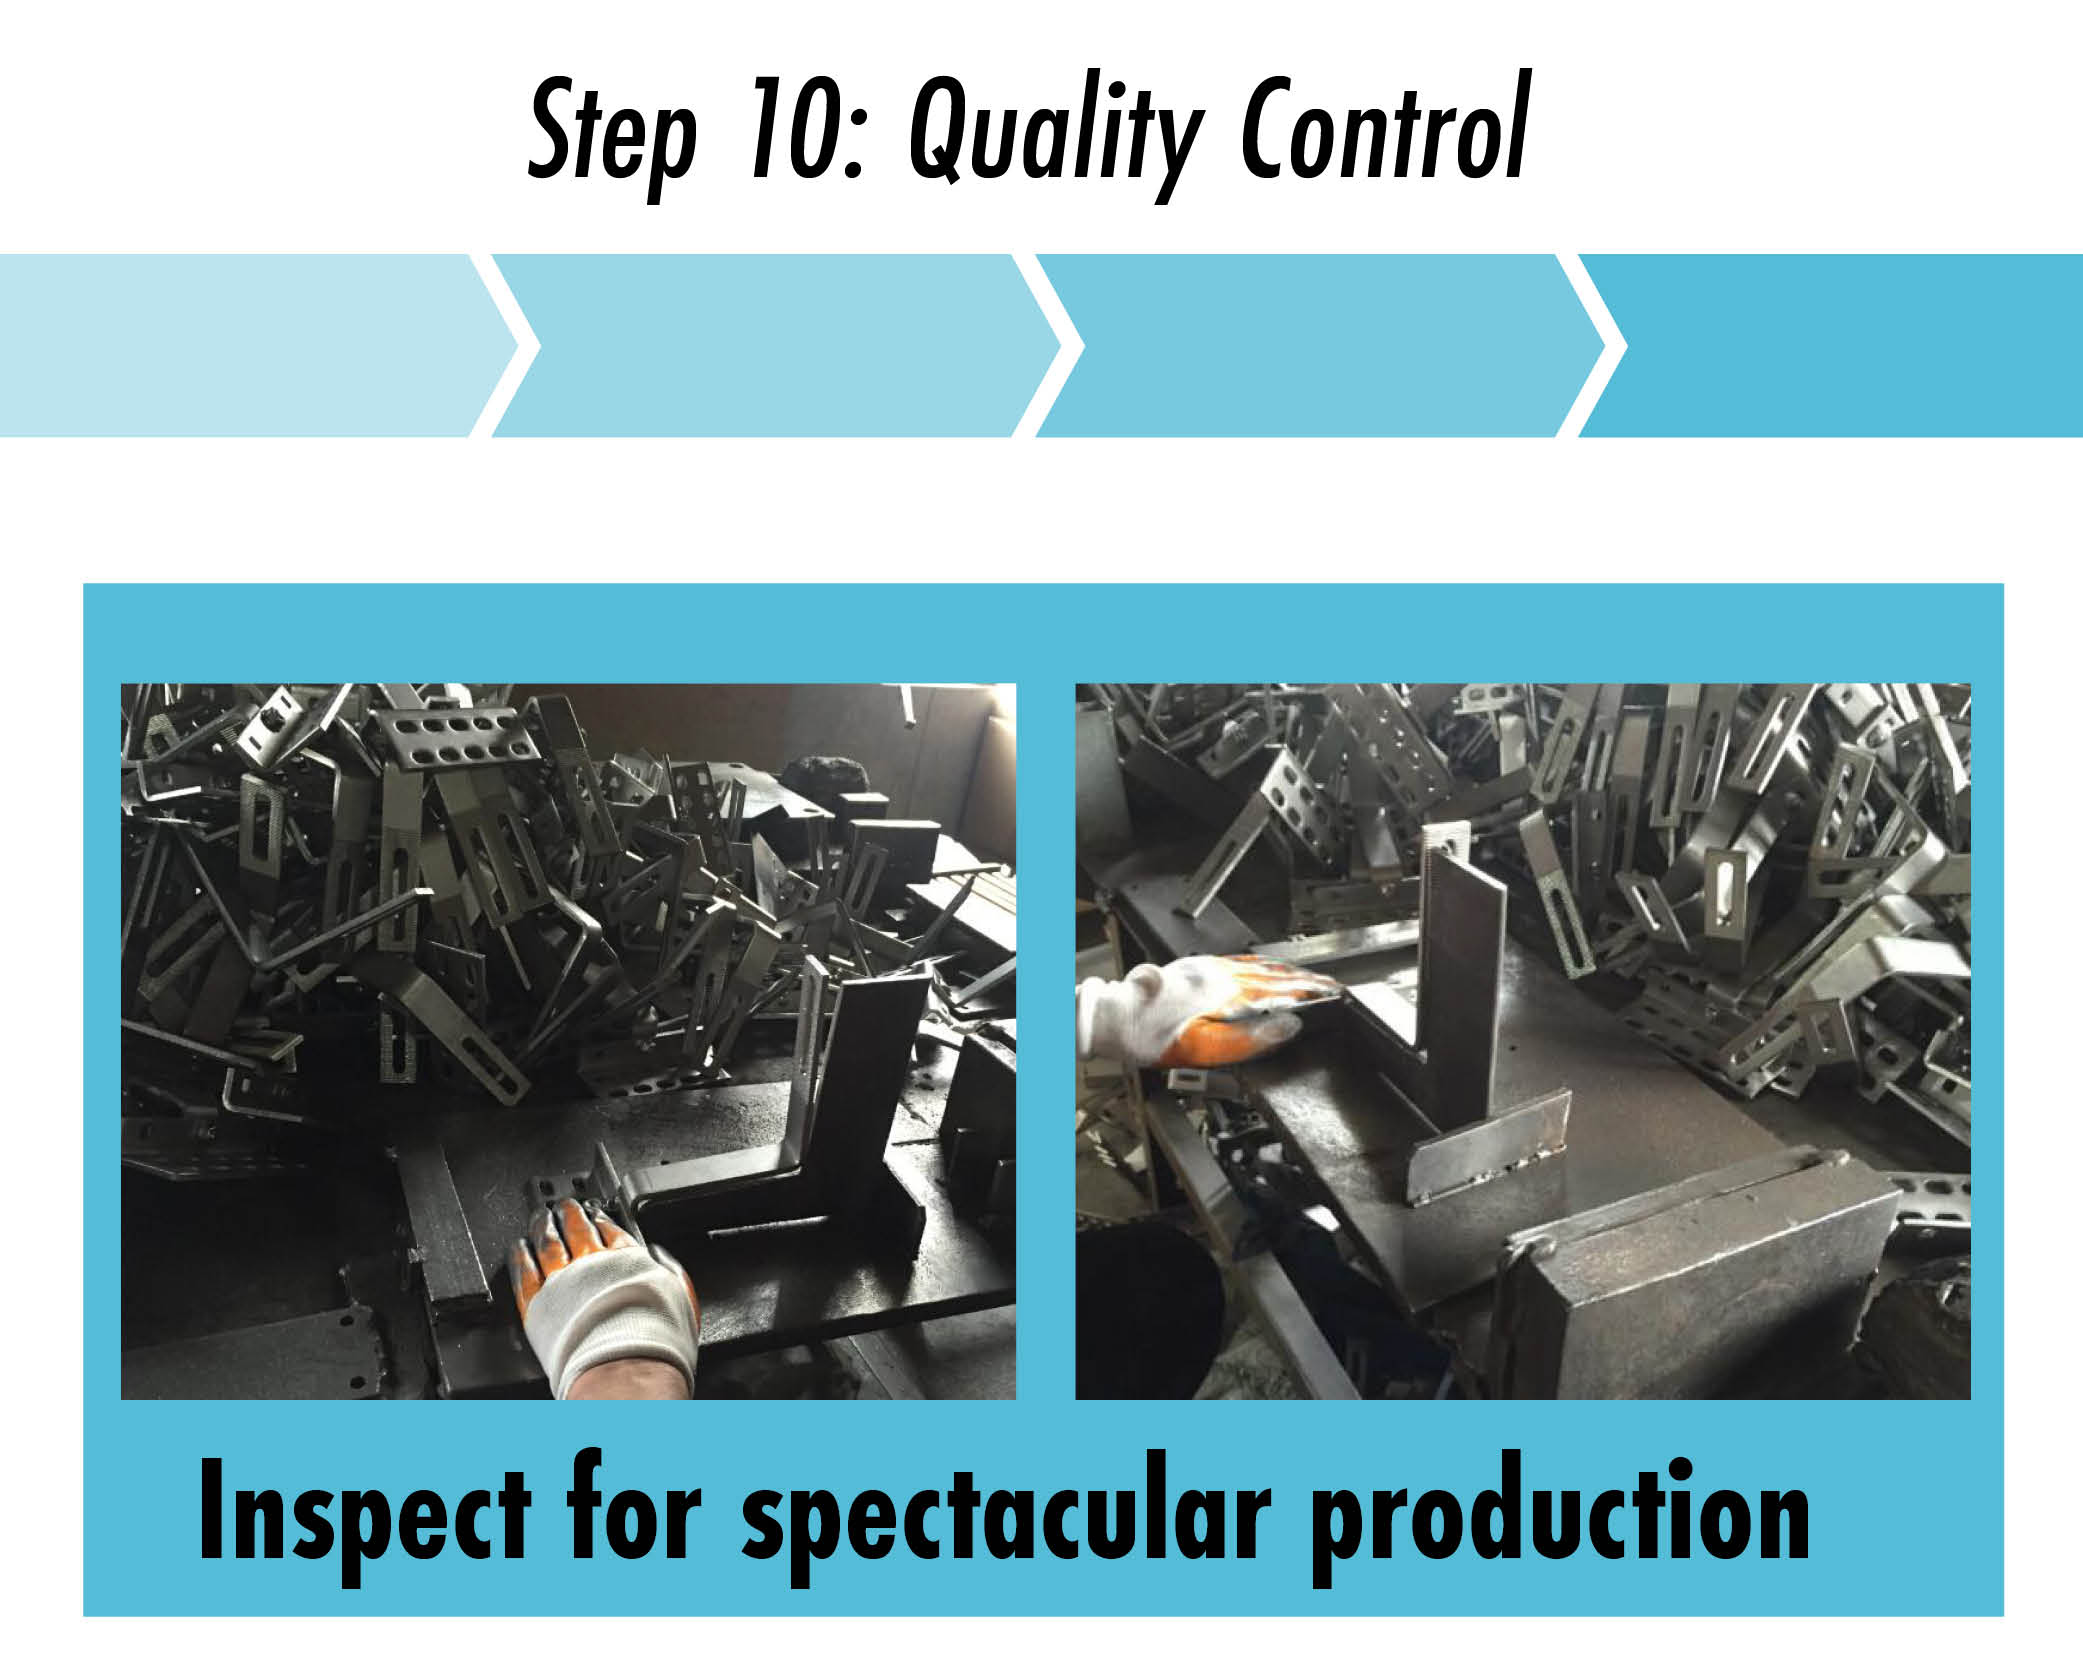
This is not rocket science but these hooks go onto people's homes so we maintain the highest quality control to protect the roofs over their heads. There is a combination of mechanical and digital checks we utilize here with the end requirement of only approving hooks that meet our standards.
Bonus Step 11
This final step is where we package the hooks and ship them out. *The images below are outdated as we've updated our brand to QuickBOLT from SolarRoofHook.
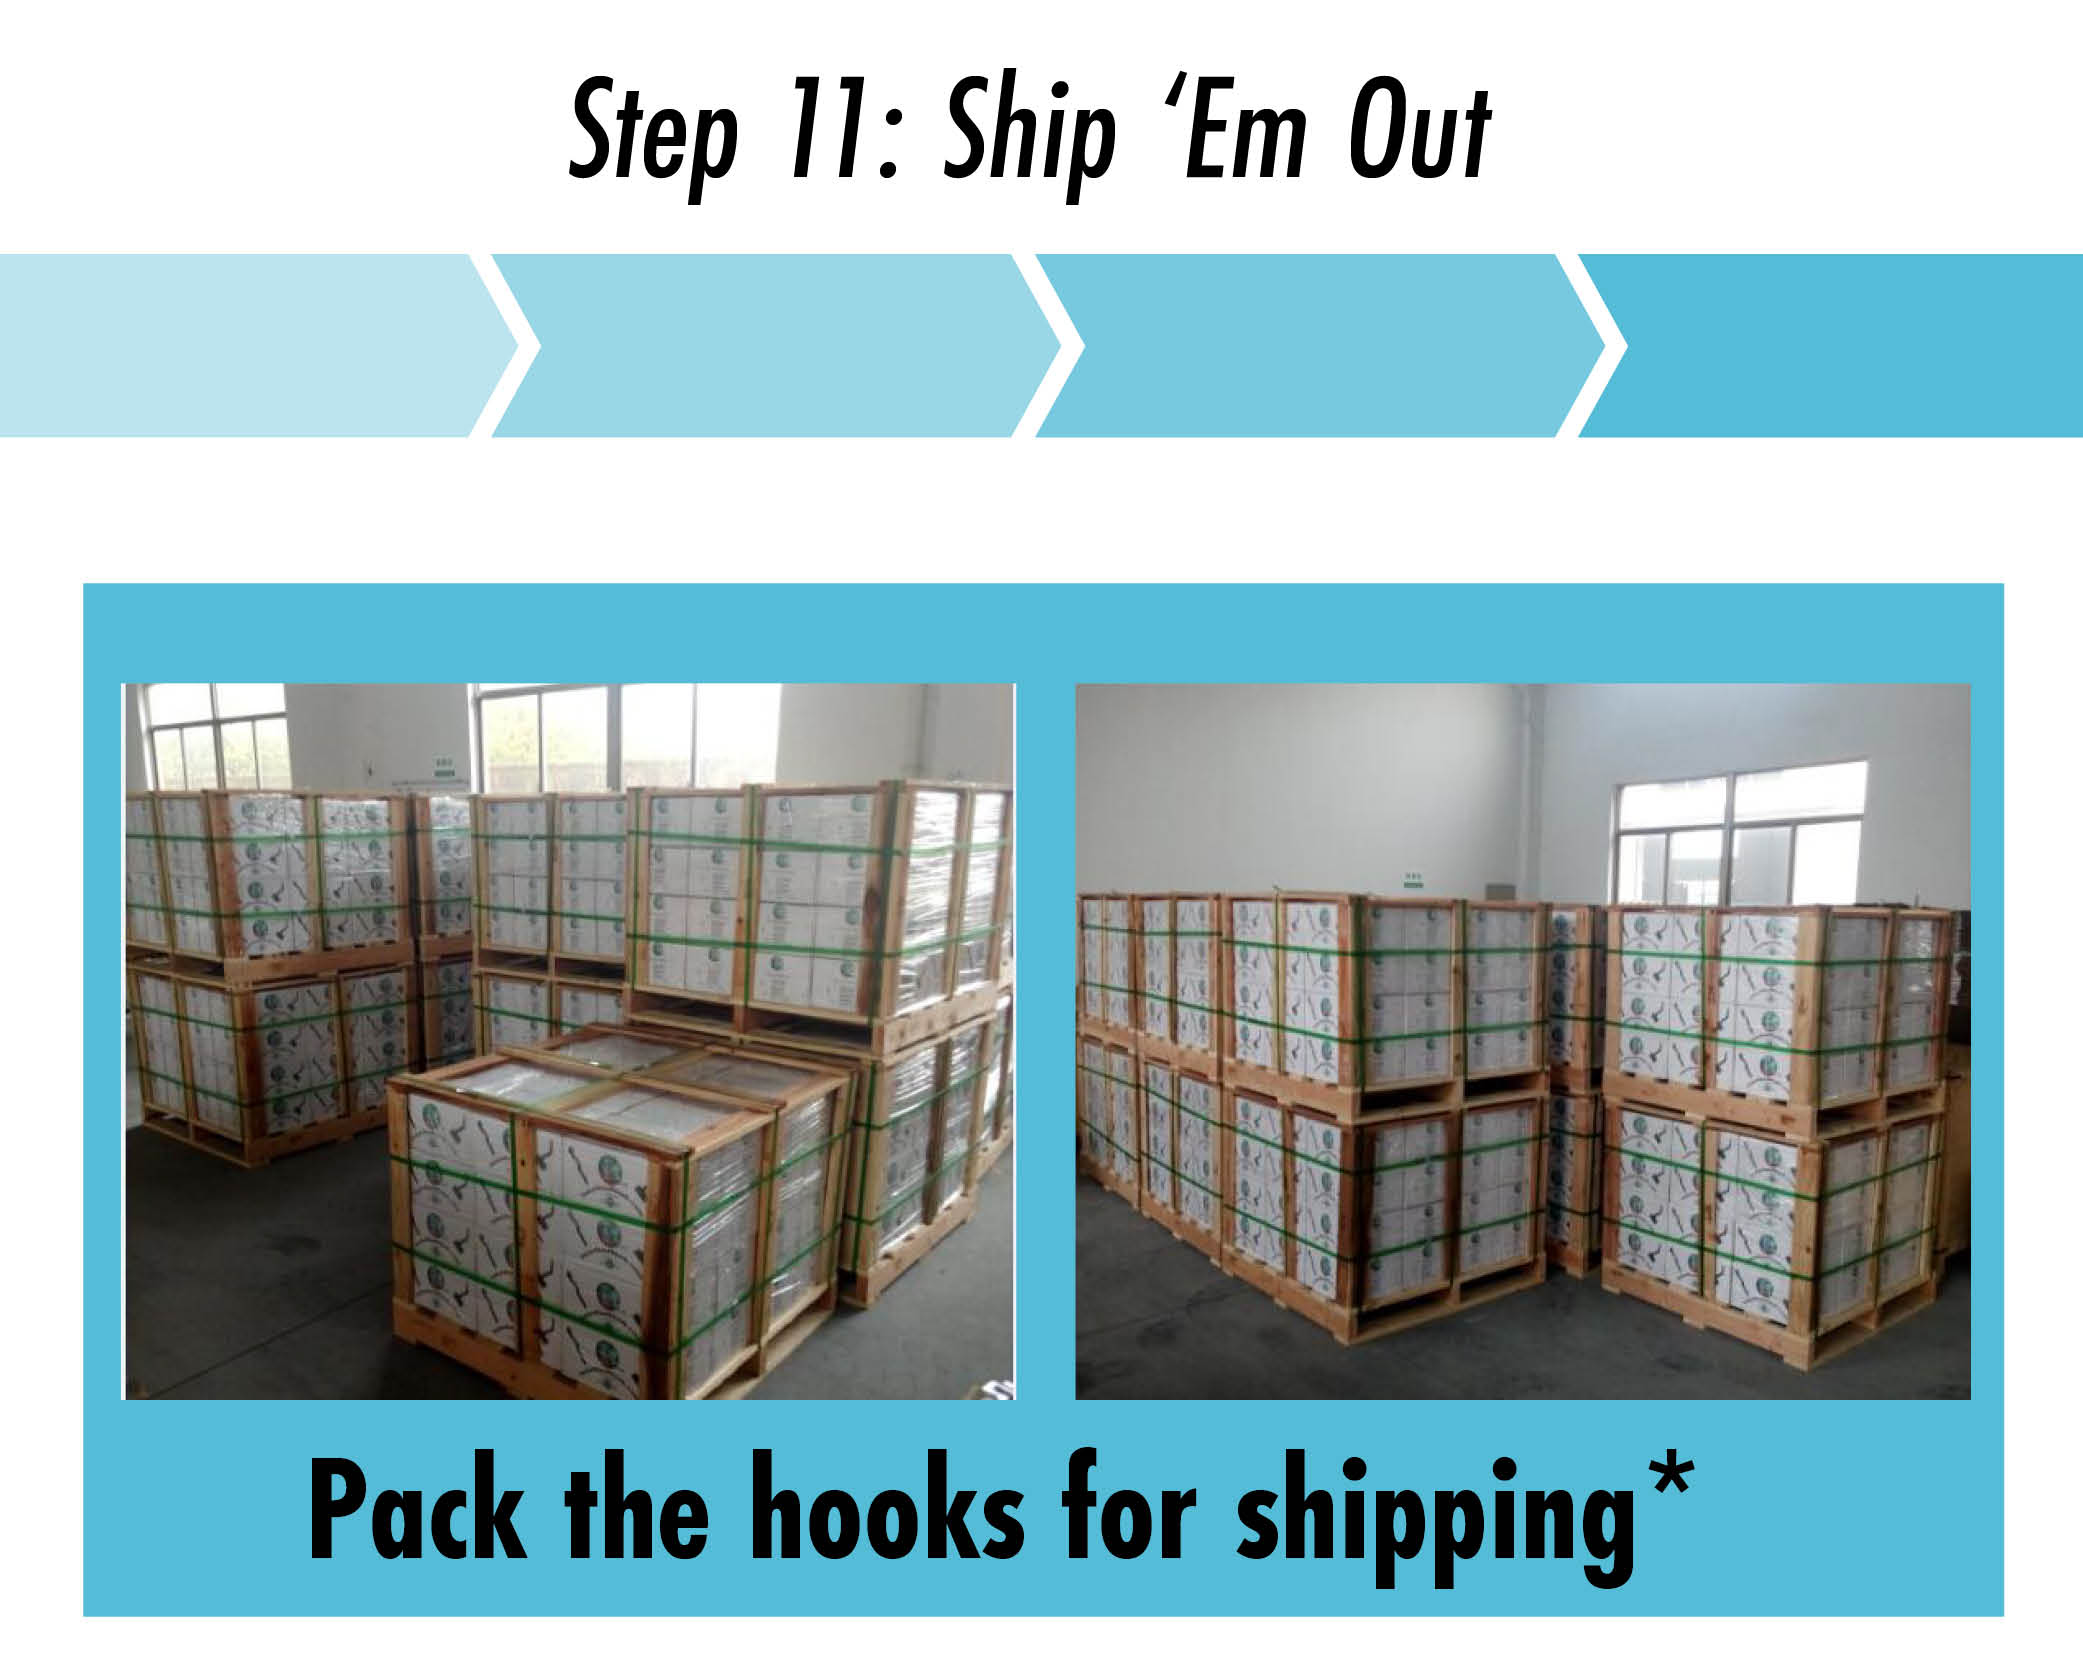
The magic in this final step is the lead-times we can deliver. Once we've got products warehoused then we can ship to you within 2 days of ordering.
Sign Up for Our Bi-Weekly Newsletter
That's it, folks! Thanks so much for reading. If you want to learn more about QuickBOLT and our products make sure to sign up for our email list where we make announcements about new blog articles and product updates.
Sign up at the bottom of the page!

